
JumpCloud Vault enables your team to securely manage and share passwords, 2FA (two-factor authentication) tokens, and other types of sensitive information.
Accessing JumpCloud Vault
Users can find the Vault tile in the JumpCloud User Portal.
Credentials
Credentials are a set of unique identifiers used to verify your identity and determine what information you’re allowed to see. The following types of credentials can be saved in the Vault:
- Passwords
- Keys
Adding Credentials in Vault
Vault allows you to add as many credentials as needed to access websites, computers, devices, and other resources. Each credential securely stores access information, including different passwords or keys.
There are two main ways to create a credential in Vault:
- From the Credentials menu
- Directly from a resource
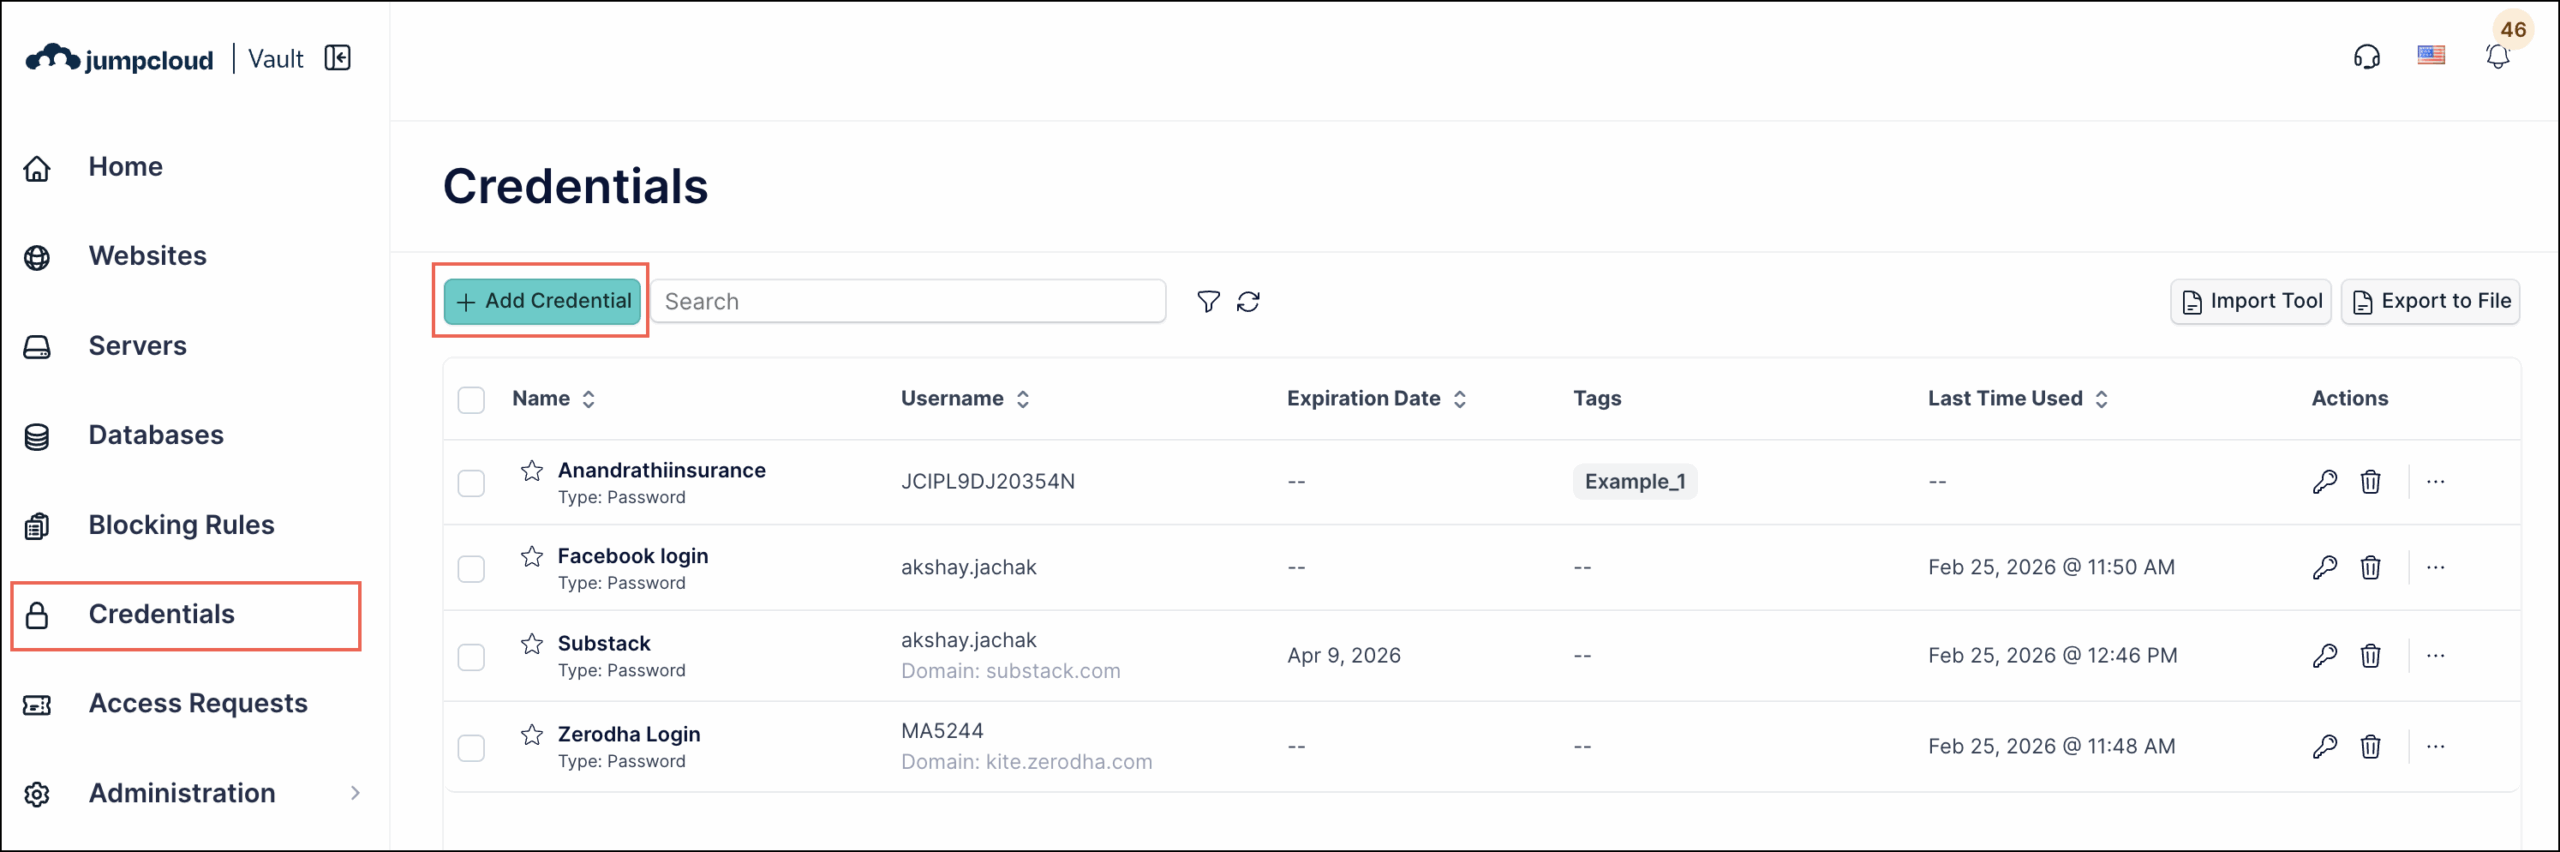
To add a credential from the Credentials menu:
- Log in to the Vault.
- Go to the Credentials menu.

- Click + Add Credential and fill in the required credential information.

- Click Save to store the credential.

![]()
Credentials created this way are not automatically associated with any resources. To link them to a resource, go to the relevant menu (e.g., Websites, Servers), and when creating a new credential, select Existing. A list of available credentials will appear—choose the desired one and click Add.
Adding a Credential Directly from a Resource
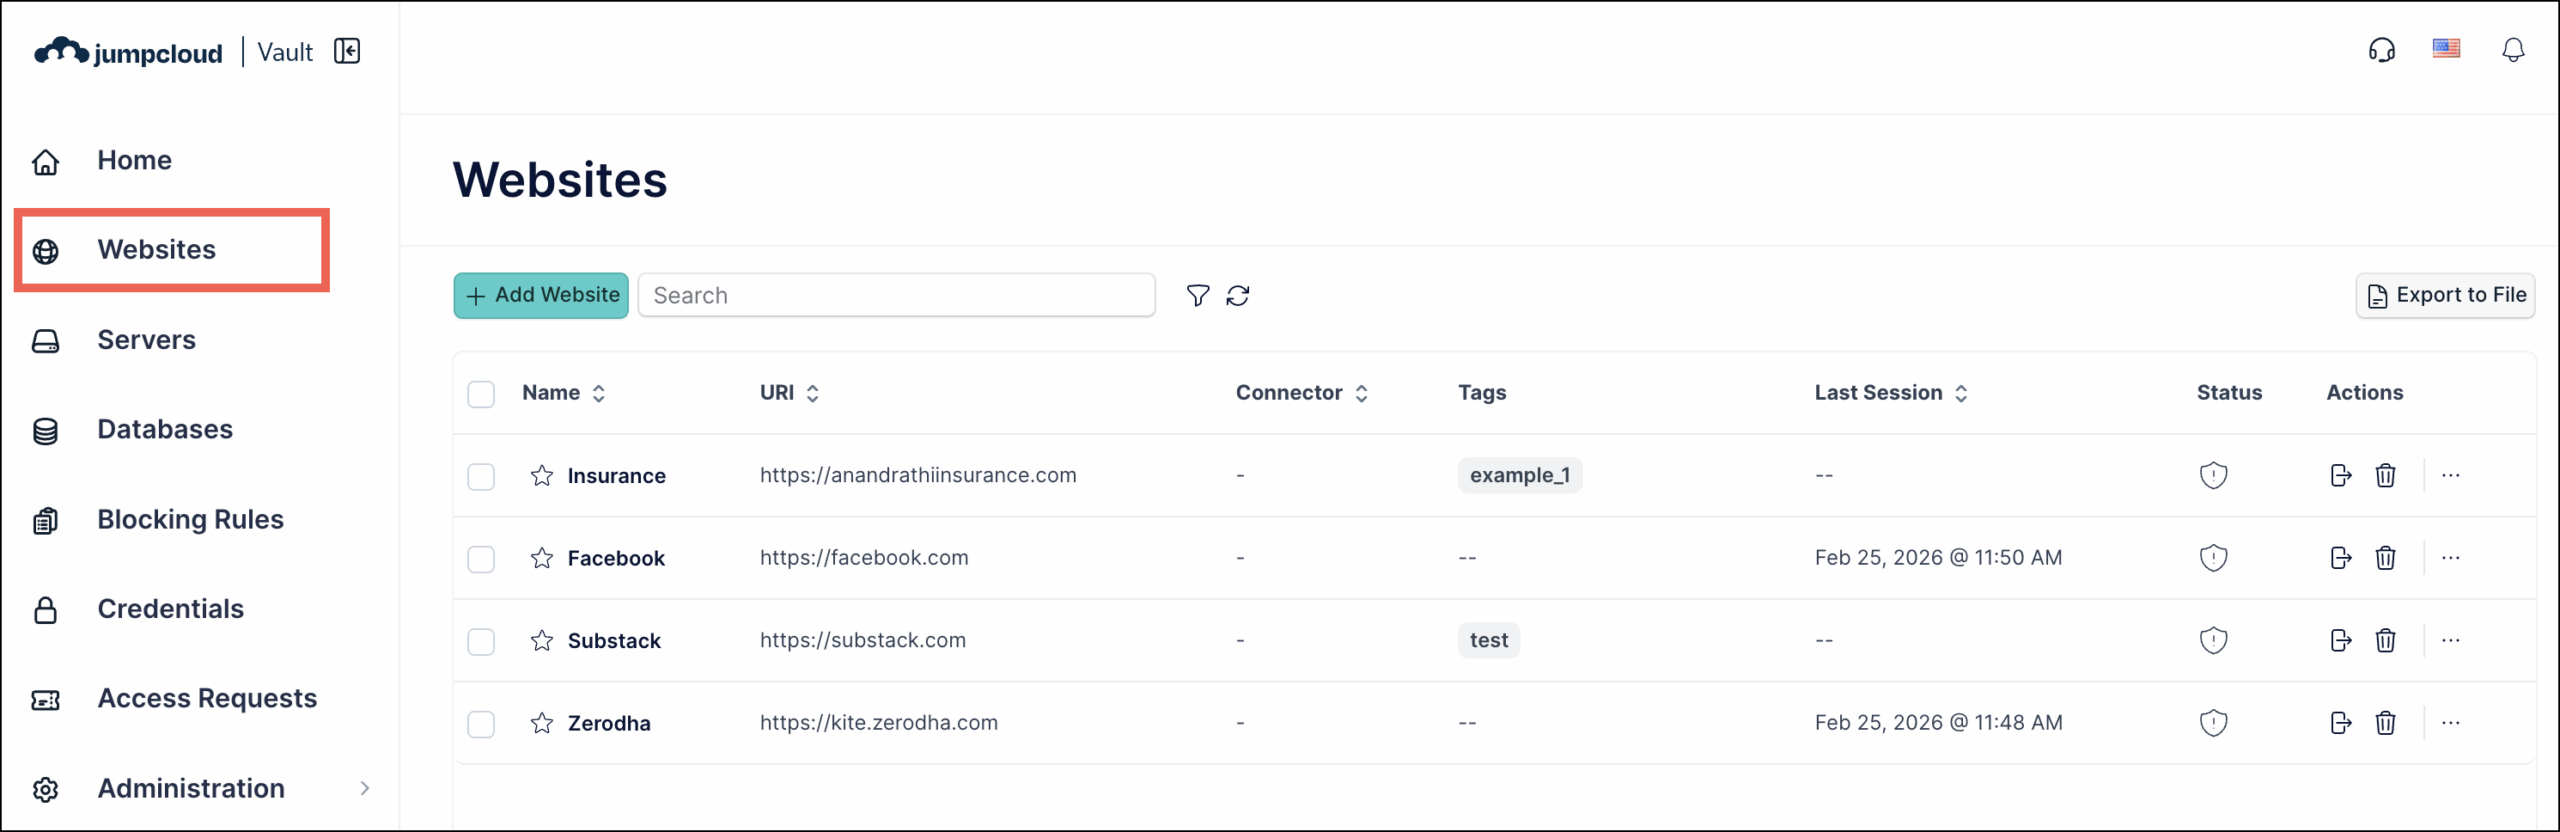
To add credential from a resource:
- Go to the menu for the resource that you want to add a credential to (e.g., Websites).

- Select a resource that you want to add a credential to. The edit window is displayed.
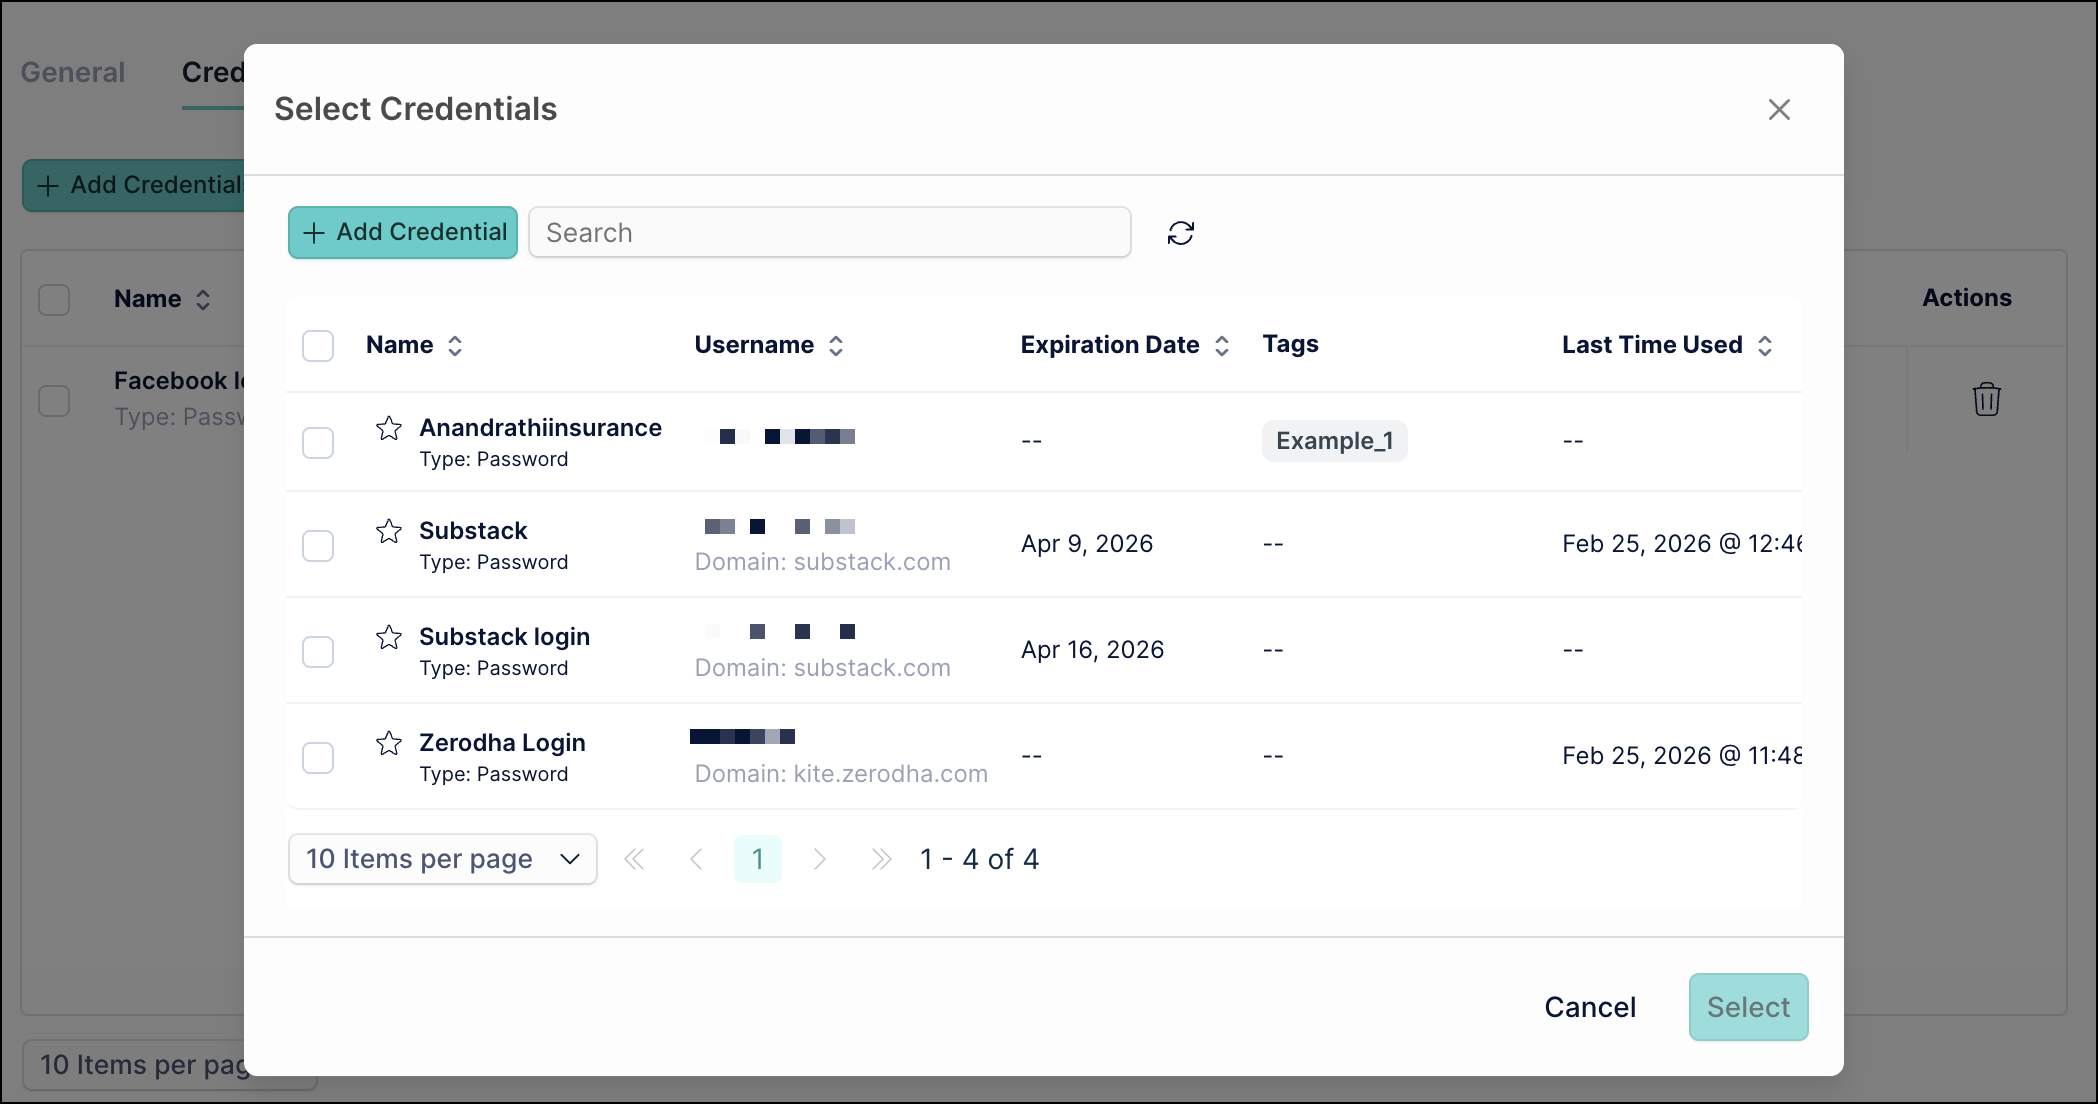
- Go to the Credentials tab.
- Click the Add Credentials button and enter the credential information. You can also select any of the existing credentials to attach to the resource.

- Click Save. The new credential will now be associated with this resource.
![]()
If you don’t save the new credential, it won’t be stored.
Sharing Credentials With Other Users
One of Vault's core features is the ability to grant access to resources securely, without ever exposing the actual password. This guide explains how to share access to a registered resource and define what actions the user can perform.
To share credentials with other users:
- Go to Credentials.
- Click the credential that you want to share.
- Click the Sharing Preferences tab.
- Click the Add User/Add Group button to open the user/group selection window.
- Select the user or user group you want to share the credential with. Also, set the permissions as required.
- Click Ok, then click Save to apply all changes.
Defining Access Permissions
The users define the level of access for the credentials. This ensures they only have the permissions they need.
Permission types in JumpCloud Vault:
Permission types in JumpCloud Vault
| Permission Type | Description |
| Manage | Provides full ownership of the credential to the end user. The user can edit, share, and delete the credential. |
| View Detail | Allows users to view the metadata of the credentials. This includes ID, created at, modified, etc. |
| View Secret | Allows users to view the credentials. |
| Connect | Allows users to auto-fill without exposing the credentials. |
Access Control Workflow
Creating an approval workflow in Vault adds an extra layer of security for sensitive credentials by requiring approval before access is granted.
See Vault: Create Workflows to learn more.
Importing Credentials in Vault
If you need to add many credentials to your Vault environment, manually adding each one can be time-consuming. Vault offers a convenient way to import them using a CSV file.
Importing from External Tools
You can efficiently bring credentials from other password management systems or external sources into Vault by importing a spreadsheet file. This process is especially useful for migrating existing data. The import is straightforward and only requires you to prepare your data and then upload it to the platform.
Import Credentials from a Custom File
To import credentials from a custom file to Vault:
- Go to Credentials > Import Tool and then select Import from Custom File. The file selection window is displayed. You can upload CSV, XLS, or XLSX files.
![]()
If you have a folder structure in your previous password manager, add a column called Tags in your file before importing in Vault. In this column, mention the names of folders for each credential from your previous password manager tool.
- Select an appropriate file and click Open to upload it.
- Select the credential type from the dropdown and click Import.
- After uploading the file, Vault shows columns from your spreadsheet file corresponding to Vault's credential fields (e.g., username, password, URL). Make sure you map the fields correctly.
- Select the Create a single Website for Passwords with the same URL checkbox if needed. Credentials in the custom file with the same URL will be associated with the same website in JumpCloud Vault. If unchecked, each credential will create its own website. For example, Vault will create 5 websites for 5 different imported gmail credentials.
- Once you've selected the desired columns and configured the mapping, click Import.
The import process should be completed within a few minutes, adding all your credentials to Vault.
Importing Credentials From a Template
The process involves two main phases:
- Preparing your data in a CSV template file
- Uploading it to the Vault
To prepare the CSV file:
- Log in to the Vault.
- Go to Credentials > Import Tool.
- Click Download File template.
- Open the downloaded CSV file on your computer.
- Carefully fill all the necessary information for each credential. Ensure the data is accurate and follows the format specified in the template.
To upload the CSV file:
- Log in to the Vault.
- Go to Credentials > Import Tool.
- Click Import from template.
- Select and upload the CSV file you just prepared from your computer.
- The platform will then begin processing the data in the imported file.
Your credentials should be successfully added to Vault within a few minutes.
Adding Websites
You can add websites and attach credentials to these websites. A website can have multiple credentials attached to it and a credential can be added to multiple websites.
To add a website in Vault:
- In the Vault, go to Websites.
- Click the Add Website button.
- Add the name, URI, and other details.
- Under the Credentials tab, add credentials to the website.
- Under the Sharing Preferences tab, set permission levels for each user.
- Under the Autofill Parameters tab, set various parameters to set the correct username and password fields. See Setting Autofill Parameters to learn more.
- Click Save.
Setting Autofill Parameters
You can set autofill parameters so that the vault can identify username and password fields that might be named differently and are not automatically recognized by the Vault autofill extension.
For example: There is a website where the username and password field are mapped as User ID and Secret respectively. Vault autofill extension may not identify these fields. As a result, the user may have to enter the credentials manually. To prevent this, Vault has a feature to set autofill parameters. Once you define the field selectors for the User ID and Secret, Vault will automatically fill the username and password in these fields.
To define the autofill parameters:
- In the Vault, go to Websites.
- Click the website for which you want to set autofill parameters.
- Under the Autofill Parameters tab, enter the required field selectors as required.
- After entering all the details, click Save.
Vault Extension Settings
Password Management capabilities are provided through the JumpCloud Go Extension.Supported version: Chrome, Firefox, and Edge.