
In the Workflows section, you can create event based workflows that will be triggered automatically by Directory Insights (DI) events, such as a user joining a group, a password change, or a device being added to device group.
To create a manual workflow:
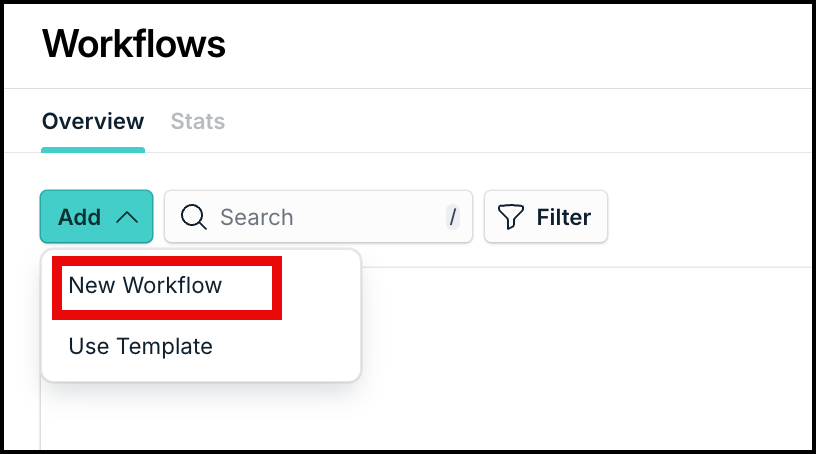
- In the Workflows Overview page, click Add.

- Select New Workflow from the dropdown.
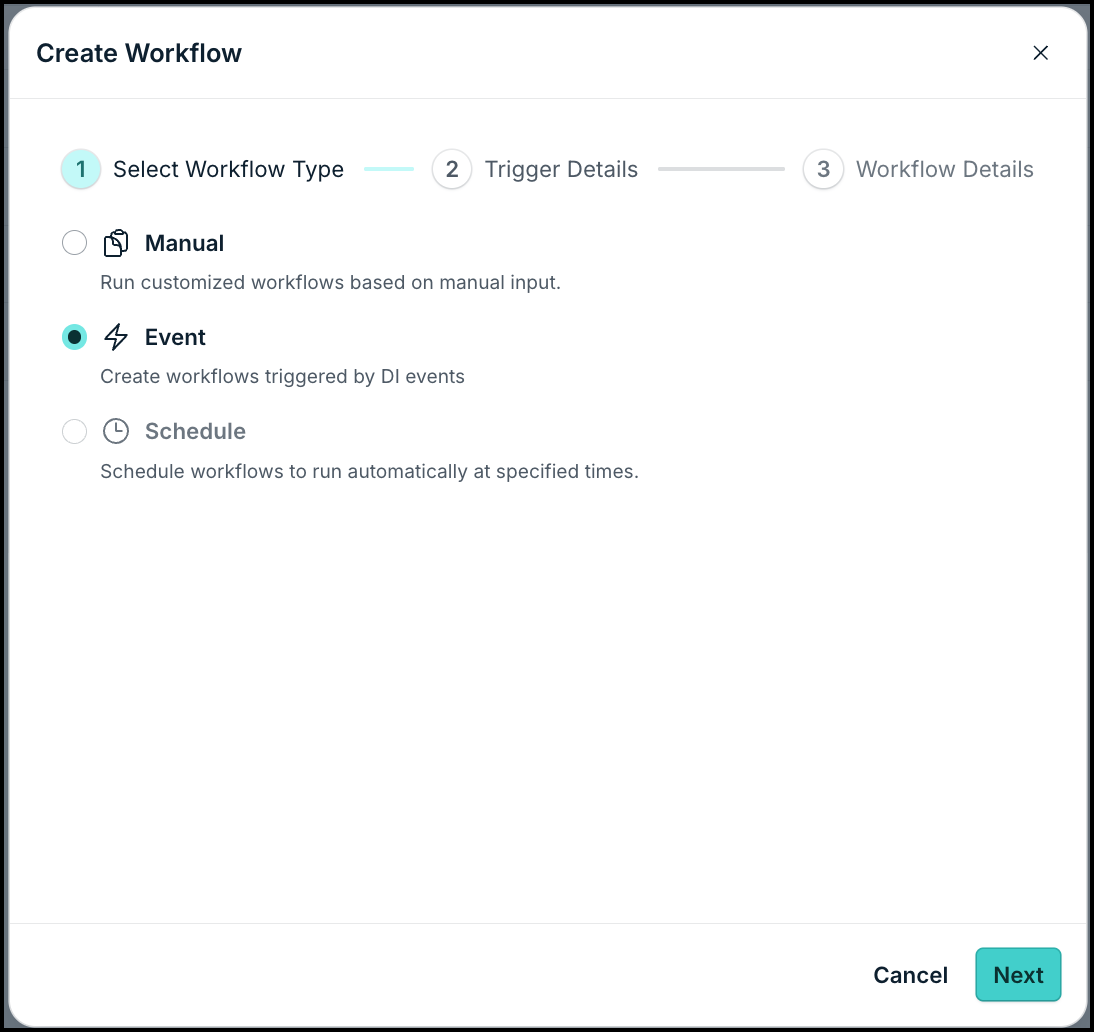
- In the Create Workflow dialog, select the workflow type as Event and click Next.

- Next, in the Trigger Details section, you can either:
- Select Event Trigger: You can search and select predefined event types from different categories. Each option includes a Name and a Description to ensure you're selecting the exact system event you need. These events are shortcut templates with prepopulated filters that can be used to configure the workflow appropriately.
- Search by Event Name: You can search and select specific events by the name as it appears in the directory insights. This list is populated by the events generated in your org in the last 60 days.
- Select the required event and click Done.
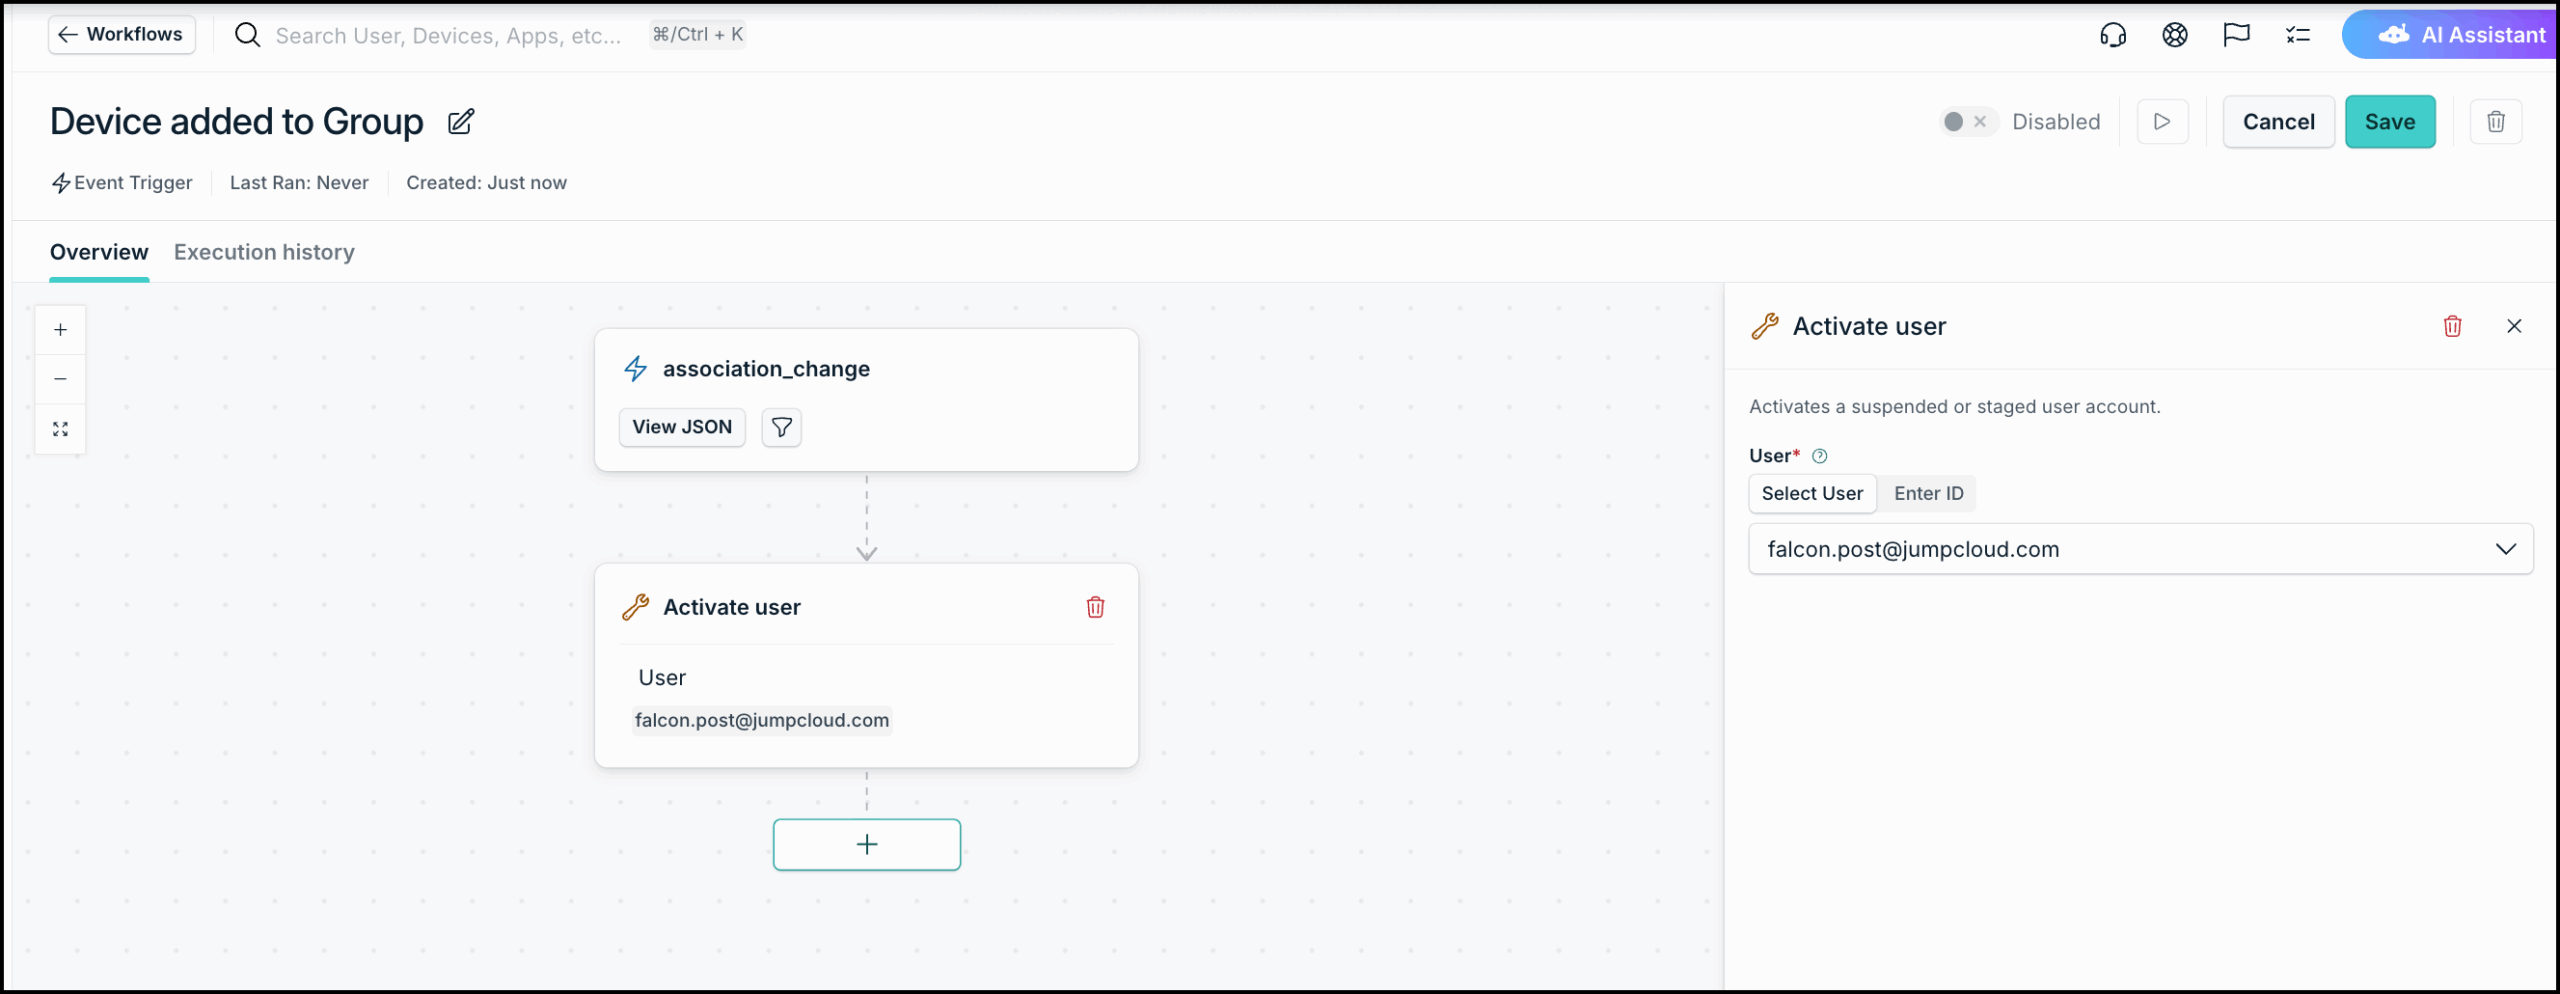
This will take you to the workflow builder where basic data such as workflow name and type is already populated along with the trigger card displaying the actual event name. You can design the different blocks (triggers, conditions, and actions) here.
![]()
Once you start making changes in the workflow Canvas, you will see a floating panel at the bottom of the page alerting you regarding unsaved changes. Once you’ve defined the triggers and actions as needed, click Save changes to save the configurations. If any nodes or fields contain errors or missing configuration details, the workflow cannot be saved and an error message will display. Resolve all flagged issues before attempting to save again.
- Defining Workflow Trigger Conditions: In the Workflow Overview section, click the View JSON on the event trigger card to view the trigger information. You will also see a filter icon that you can click to view the condition details.
- Use the quick filters to add dynamic filter conditions to your trigger in the Filter section. Add the Key, Operator, and Values to the respective fields to define the rule logic.
- Use the Add Rule button to add more rules.
- If you wish to define more complex rules, click Switch to Expression Language to open the editor. To understand the different components that can be used in expression logic, see Expr’s documentation on Language Definition.
- See Configure Event Attribute Filters to learn more about event attribute filters and sample expression language.
- Defining Workflow Actions: Once the trigger condition is added, click + to add an action node. You can select the Action type and define the actions (the specific tasks to execute) for the workflow. See Defining Workflow Actions to learn more.
- You can choose to define actions or use flows.
- Actions are individual operations performed on your directory or resources. You can either add Custom Actions or use JumpCloud API actions. See JumpCloud Workflows Public API & DSL Guide to learn more.
- Flows allow you to move beyond simple linear automation. You can use them to add complex decision-making logic and efficiency into your workflow. You can either use Loops or If-else flows or a combination of both.
- To add more actions, click +.

- You can choose to define actions or use flows.
- Choosing Execution Role (Run as): Next, you must identify the role that has the permission to perform the actions you’ve added in the Workflow.

- On the top pane, click Select next to Run As.
- On the Choose Execution Role dialog, select the narrowest role from the dropdown.
- Once you’ve defined the triggers and actions as needed, click Save changes in the unsaved changes floating panel to save the configurations.
Your workflow will be saved and enabled by default. You can use the toggle to disable it if needed.
Every time the defined event is triggered in JumpCloud, the workflow will run and complete all the defined actions. You can check the status and execution details in the Execution history section.