
Use the JumpCloud App Catalog for macOS to install and easily manage popular macOS desktop applications that may not be available through Apple’s Volume Purchase Program (VPP). When configured to auto-update, applications managed through the JumpCloud App Catalog are kept updated, with no manual intervention required, helping to reduce the risks associated with outdated software and potential security vulnerabilities.
The JumpCloud App Catalog can help you to:
- Eliminate third-party solutions for app patching by consolidating your app management solutions in JumpCloud.
- Automate manual jobs and remove insecure ad hoc app management practices.
- Establish a secure and efficient process for tool resourcing and maintenance.
- Deploy software to your devices without the need for MDM enrollment.
Prerequisites:
- Devices must run a supported version of macOS and have the JumpCloud Agent version 2.56 or later installed.
- See JumpCloud Agent Compatibility, System Requirements, and Impacts for the full list of supported macOS desktop versions.
Considerations:
- The App Catalog for macOS uses the JumpCloud agent to install and manage updates. Device MDM enrollment is not required.
- If a JumpCloud App Catalog app is installed and takes over a previously installed instance of the same app on a device, some or all of the existing app configurations may be reset.
- It can take up to 5 minutes for device agents to check in for commands to install, update, or remove applications.
- If a user deletes an application installed by the App Catalog, the agent will automatically reinstall the app within 30 minutes.
Viewing Application Details
From the application list view (Device Management > Software Management), apps managed by the App Catalog are noted in the Application Type column. You can quickly see information like the current version of the application installed and the timestamp of the last update.
Click a row to view the application details, see bound device groups and devices, and check the status of the application on bound devices: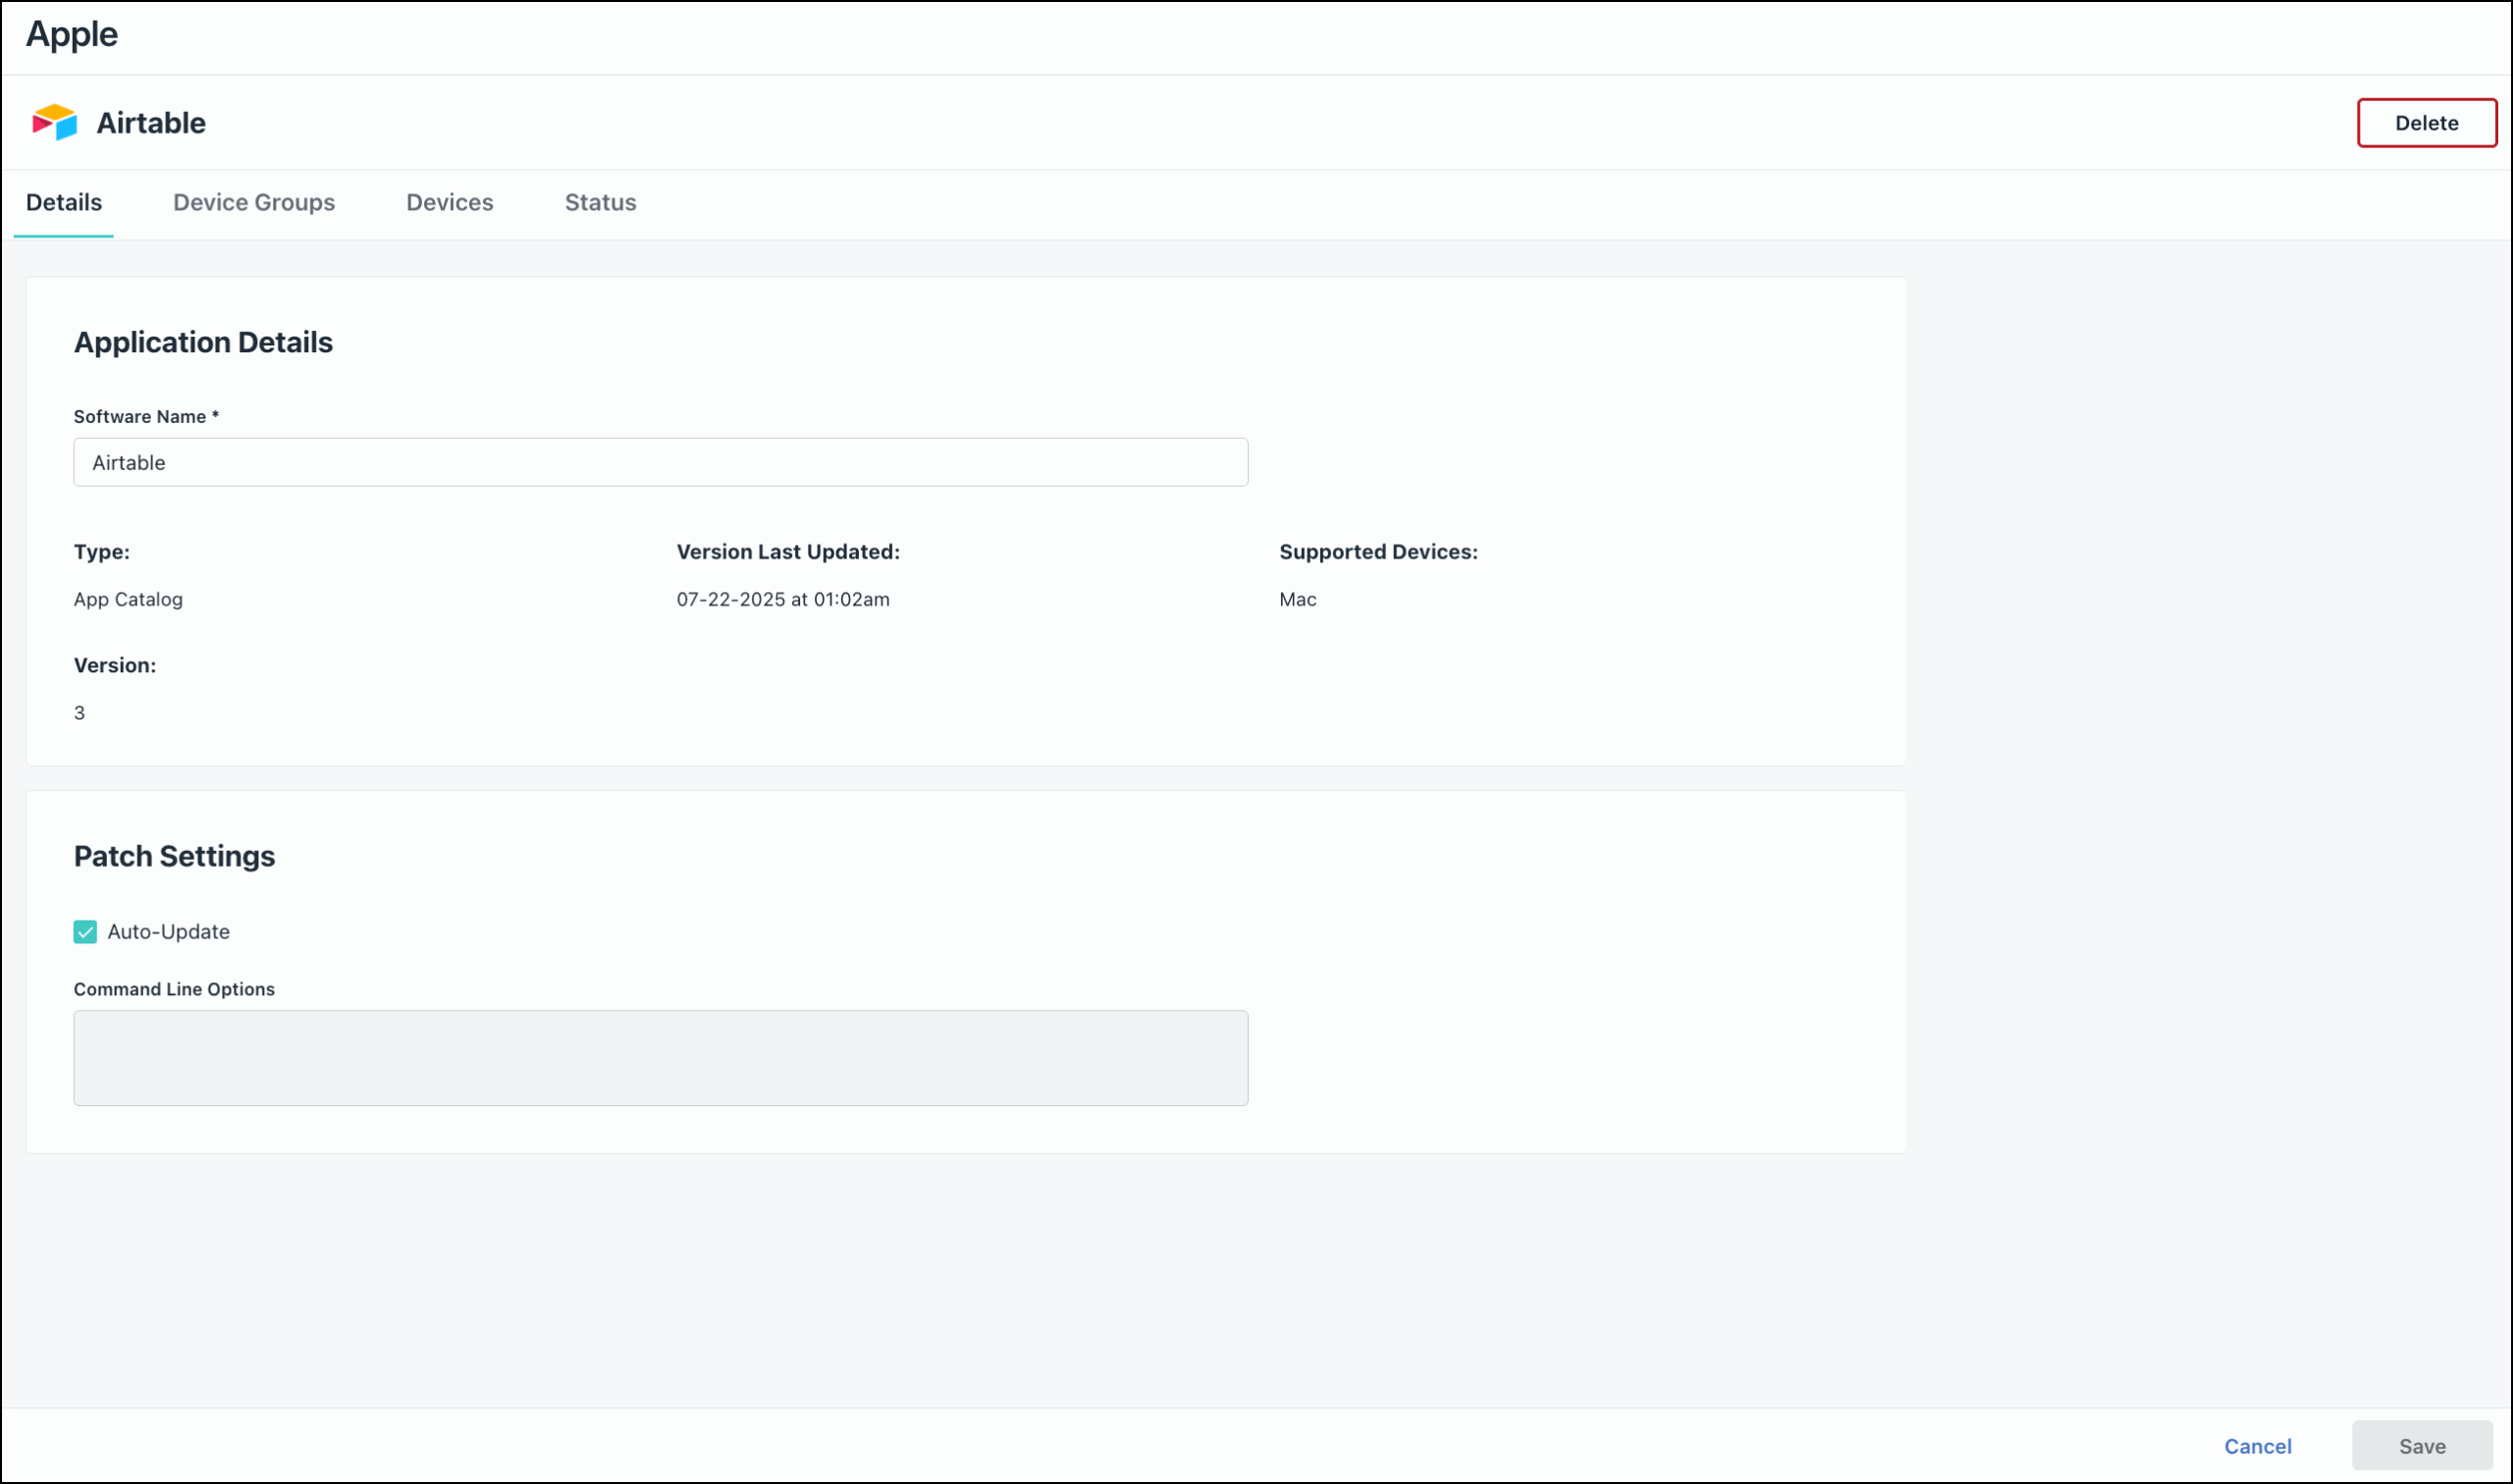
- Application Details:
- Type – Origin of the Application. Applications that originate from the app catalog are noted as App Catalog. This is also how they appear in the software list view.
- Version – The version of the application installed.
- Version Last Updated – Date and time that the application was updated to the latest version from the publisher.
- Supported Devices - OSes supported for this application.
- Patch Settings: Review configured update settings and command line arguments here. If making changes, remember to click Save.
![]()
Command Line Options aren’t currently available for macOS apps.
Installing an Application from the App Catalog
To install an app from the JumpCloud App Catalog:
- Log in to the JumpCloud Admin Portal.
![]()
If your data is stored outside of the US, check which login URL you should be using depending on your region. If your organization uses LDAP, RADIUS, or requires firewall allow list configuration, the Fully Qualified Domain Names (FQDNs) will also be region specific. See JumpCloud Data Centers for the URLs, FQDNs, and IP addresses.
- Go to Device Management > Software Management.
- From the Apple tab, click Add New and select JumpCloud App Catalog. Follow the wizard to configure the application:
Select Application
Select an application to install and manage. You can select up to 10 applications to install simultaneously.
- On the Select Application screen, select an application from the list, then click Next.
- Select from the following list of available macOS applications:
- 1Password
- Airtable
- Alfred
- Amazon Chime
- AnyDesk
- Box Drive
- Brave
- Canva Desktop
- Chrome
- DuckDuckGo
- Egnyte Connect
- Firefox
- GoogleDrive
- Grammarly Desktop
- Keeper Password Manager
- LastPass
- Malwarebytes
- Microsoft Teams
- NordVPN
- Notion
- OneDrive
- Perimeter 81
- Slack
- StrongDM
- Twingate
- Webex
- Zoom
Configurations
Configure the Patching and Configuration details. These details are optional.
- (Optional) Select Auto-Update to keep the application patched to the latest available version. This is enabled by default.
![]()
The JumpCloud Agent automatically keeps apps up to date with the latest version provided by the publisher.
- Click Next.
Associations
Select the device groups and devices where you want to install the application.
- Select the Device Groups tab. Select one or more device groups where you will install this application. For device groups with multiple OS member types, the application is installed only on macOS devices.
- Select the Devices tab. Select one or more devices where you will install this application.
- Click Next.
- Verify the details on the summary screen are correct before proceeding, then click Save.
An install command is sent to targeted devices. The user on the device will receive prompts that a software update is available.
End User Notifications
When a command is sent to the device agent to install or update an application, the end user is prompted with an update notification on their device: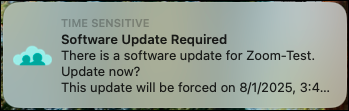
Users can click Update Now on the individual notification to install the update immediately, or Snooze the notification for 24 hours. This notification will be sent every day for 7 days before the update is forced on their device.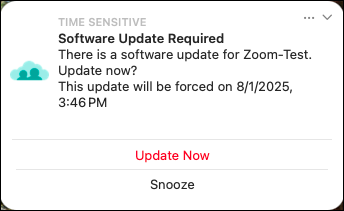
Deleting an Application
If you no longer want to manage an app through JumpCloud, you can remove it. Removing an app managed by the JumpCloud App Catalog does not remove the app from devices where the app is bound; the app will no longer be managed by JumpCloud.
To remove an App Catalog app from a bound device:
- From the JumpCloud Admin Portal, go to Device Management > Software Management.
- Click the Apple tab and select the app you want to delete from a device.
- From the Devices or Device Groups tab, unselect the devices or device groups where you no longer want to manage the app and click Save.

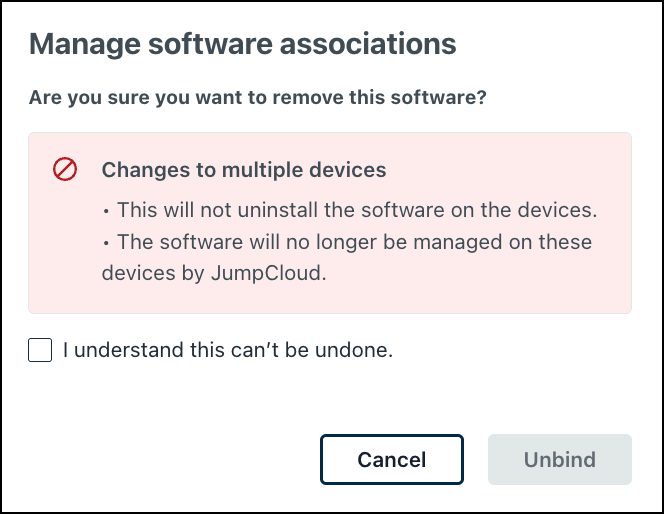
- On the Manage software associations prompt, read through the implications and click the checkbox to acknowledge the following:
- You will unbind the software from the selected devices.
- This will not uninstall the software from the devices.
- The software will no longer be managed by JumpCloud on the devices.
- Click Unbind to proceed.
To delete an App Catalog app:
- Log in to the JumpCloud Admin Portal.
- Go to Device Management > Software Management.
- Select the Apple tab and select the app you want to delete. Apps installed from the App Catalog are noted in the Application Type column.
- Go to Actions > Delete.

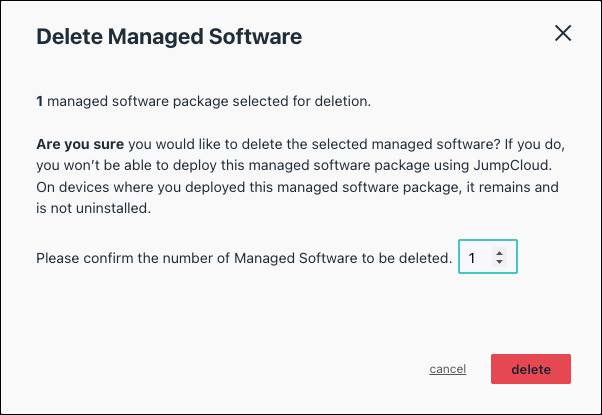
- If you’re removing more than one app, enter the total number of app packages to be deleted.
- Click Delete again to proceed. Applications will remain on devices where they have been deployed.
Viewing Command Statuses
When you create, update, or remove an app from a bound device, the JumpCloud Agent reports the status on each bound device:
To check the status of an install, patch, or removal command:
- From the JumpCloud Admin Portal, go to Device Management > Software Management.
- Under the Command Status column, click View Status to see status information for the relevant application:

- Device Name - Name of the device where the app is bound.
- Status – Install Success, Install Failed, or Update Pending.
- Timestamp – Date and time when the status was reported by the device agent.
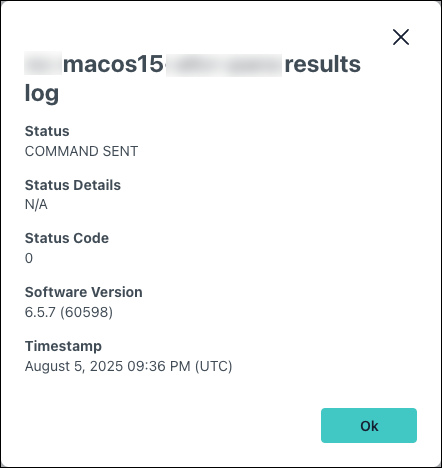
- Click View to the right of the relevant device row.
- The results log of the command is displayed, including status details, code, and timestamp.


JumpCloud reports the following statuses for the macOS App Catalog:
| Status | Description |
| INSTALL SUCCESS | App was successfully installed. |
| INSTALL PENDING | App is queued for installation. |
| INSTALL FAILED | App was not successfully installed. |
| UPDATE SUCCESS | App was updated to the latest version successfully. |
| UPDATE PENDING | App is queued for updates. |
| UPDATE FAILED | App was not successfully updated. |
FAQ
No, devices don't need to be enrolled in MDM to use the App Catalog. The JumpCloud agent manage software installation and updates.
We encourage you to file a Feature Request detailing your specific app needs and use cases.
JumpCloud sources applications directly from the publisher. For example, OneDrive is sourced directly from Microsoft, and Grammarly is sourced directly from Grammarly.
The macOS App Catalog updates to the latest published version of an application within a few hours of its release by the publisher.
The timing of the update on a specific device depends on your organization's settings. If an organization configures an application to auto-update, the latest version is sent to the device shortly after JumpCloud receives the update from the publisher. Users can choose to install the update immediately or defer it for up to seven days.
Additional Resources
Enroll: Intro to Software Management