
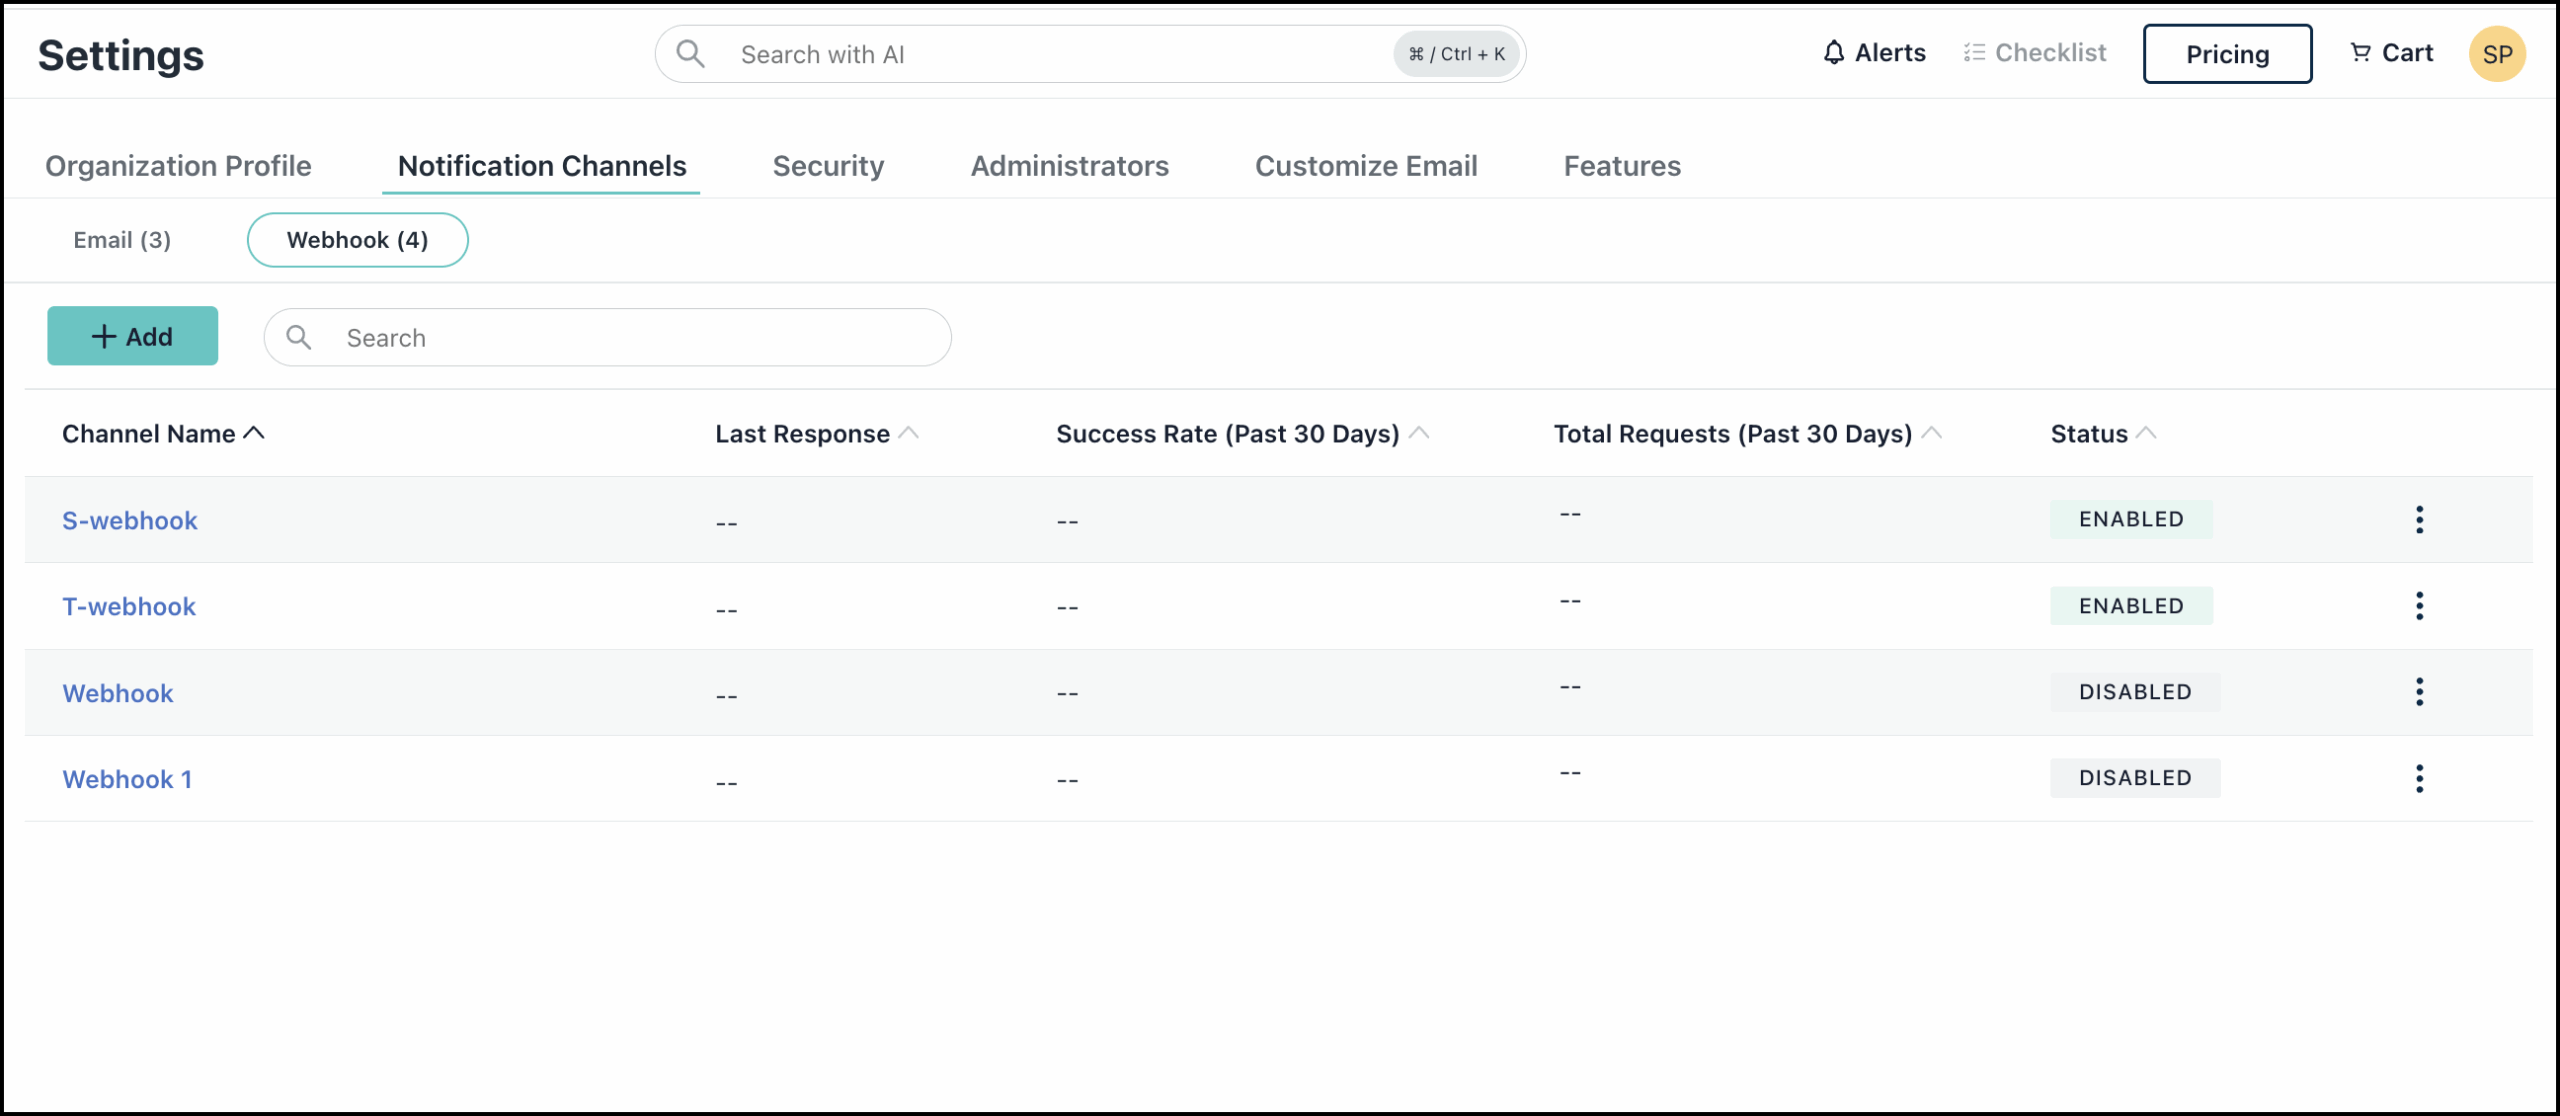
Once a webhook channel is created, it is added to the Webhooks page. You can view the Channel Name, Last Response, Success Rate (Past 30 days), Total Requests (Past 30 days), and Status.
![]()
Success Rate is calculated based on the number of successful requests in the last 30 days.
You can test and modify the status of a webhook channel directly from the Webhook Page.
- Click the ellipsis icon next to the webhook channel you want to test.
- The following options are available:
- Test: Click this to verify that your webhook setup is correct and working as expected.
- Enable: This option becomes available when the webhook channel's status is Disabled. Clicking it will enable the channel.
- Disable: This option is available when the webhook channel's status is enabled. Clicking it will disable the channel.
- Delete: Clicking this will bring up a confirmation to delete the webhook channel. Once you confirm by clicking Delete, the channel will be permanently removed.
Viewing Webhook Channel Details
Click the Channel Name to view the channel details.
Switch to the Rules tab to view the rules associated with the webhook channel. Clicking the rule will take you to the Rule Details page. You can view and modify the rule details if required. See Editing a Rule to learn more.
Editing Webhook Channel Details
You can modify the configurations if required. You can update the Name, URLs, Headers, and Authentication setup.
You can also test the webhook using the Test Webhook button. If you have made changes to headers and URLs, make sure you save the details first before testing the webhook.
Deleting the Webhook Channel
You can click Delete Channel and then click Delete when prompted, to permanently remove the channel.