Apple’s AirPrint lets your users wirelessly print from an Apple device to an enabled printer. The Internet Protocol Printer (IPP) must support Apple’s AirPrint technology. For a list of supported printers, see About AirPrint to learn more. Being able to wirelessly print photos and documents from an iPhone, iPad, or macOS device and manage in-progress print jobs is a time-saver for users.
JumpCloud provides two policies for users to configure printers using the AirPrint configuration profile. There is a policy for macOS devices and one for iOS devices:
- iOS AirPrint Destination - For iPhones and iPads running iOS 11 and later.
- Mac AirPrint Destination - For macOS devices running macOS 11 Big Sur and later.
To create a macOS or iOS AirPrint policy:
- Log in to the JumpCloud Admin Portal.
![]()
If your data is stored outside of the US, check which login URL you should be using depending on your region. If your organization uses LDAP, RADIUS, or requires firewall allow list configuration, the Fully Qualified Domain Names (FQDNs) will also be region specific. See JumpCloud Data Centers for the URLs, FQDNs, and IP addresses.
- Go to Device Management > Policy Management.
- Click (+).
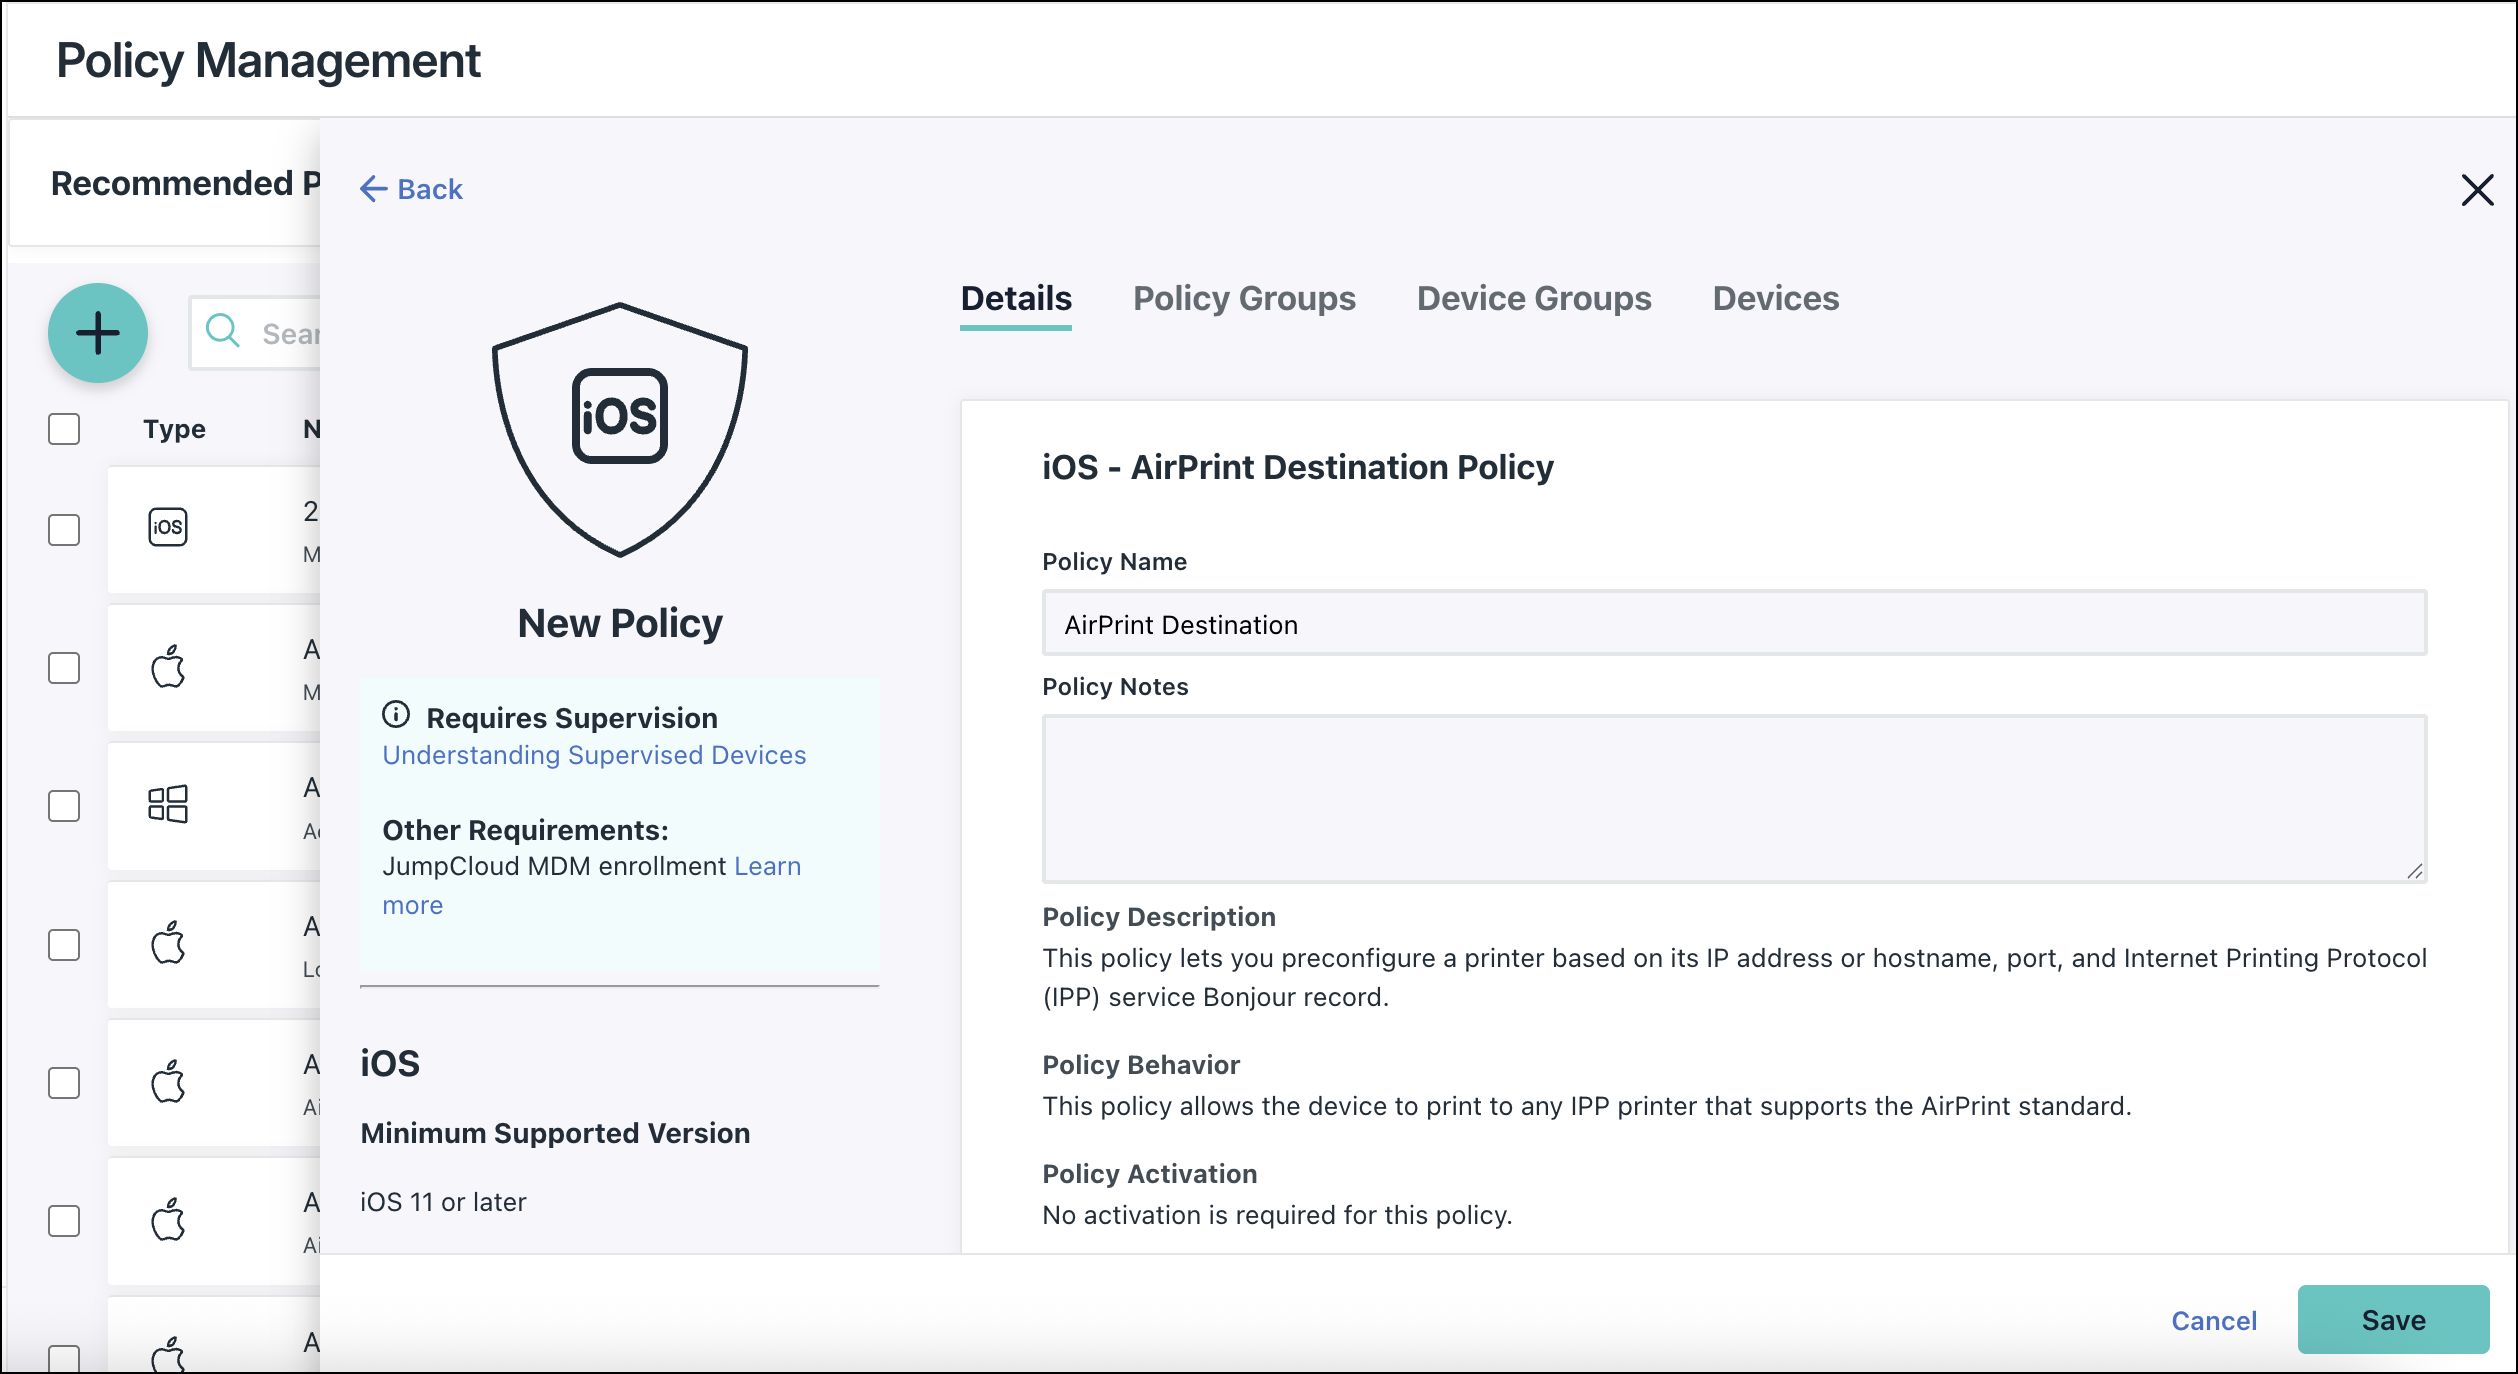
- On the New Policy panel, select the Mac or iOS tab.
- Select the AirPrint Destination policy from the list, then click configure.

- (Optional) In the Policy Name field, enter a new name for the policy or keep the default. Policy names must be unique.
- (Optional) In the Policy Notes field, enter details like when you created the policy, where you tested it, and where you deployed it.
- Under Settings, locate the IP Address and enter the IP Address or hostname of the AirPrint-enabled printer.
- For Port, enter the printer’s port number. It must be between 0 and 65535.
- For Resource Path, enter the printer’s IPP service Bonjour record. For example,
/ipp/print. - For iOS devices, select Force TLS to use the Transport Layer Security to secure all AirPrint communication between the device and the printer. This field is only used in the iOS AirPrint Destination policy.
- (Optional) Select the Device Groups tab. Select one or more device groups where you'll apply this policy. For device groups with multiple OS member types, the policy is applied only to the supported OS.
- (Optional) Select the Devices tab. Select one or more devices where you'll apply this policy.
- Click save.
- If prompted, click save again.