Create new admins from users or update existing admins from matching users within JumpCloud to leverage MFA factors beyond TOTP for administrator accounts, including JumpCloud Protect (Push MFA), JumpCloud Go, Duo, device authenticators, and hardware security keys.
Giving an admin role to a user account allows privileged users in your organization to switch between their admin and user roles with a single set of credentials. Whichever MFA factors are applied to the user account are enforced when the user logs in to the Admin Portal. If the admin role is ever revoked, the user identity is preserved.
Prerequisites:
- The Administrator with Billing role is required to assign or remove admin roles for users. Jump to Understanding Permissions
- A user account should exist within your JumpCloud directory with the user enrolled in MFA.
Considerations:
- When an admin role is assigned to a user with this method, only the user credentials will work to log in to the JumpCloud Admin Portal. Admin credentials (password and TOTP) that were used to log in to the Admin Portal before will no longer exist.
- In order to create or edit an admin role for a user, the emails for both user and admin must be the same. You can easily update the email address on the administrator or user side to ensure that the two match.
- Users whom you intend to give an admin role to must be in an active state and cannot have an expired password or be locked out of their account.
- Assigning or removing an admin role for a user will terminate any live sessions of the Admin Portal. Admins will be required to log back in to the Admin Portal with their user credentials.
- After a user has been given an admin role, they must use the User Portal password change flow if they want to change their own password. For password resets, where someone else resets the user’s password, jump to Understanding Permissions
- Users who have been given an admin role will be able to log in to the JumpCloud Mobile App for Admins.
- Admin Portal Roles and their permissions should be taken into account when understanding which admins will be able to perform actions on users who have been given an admin role. For example, admins that have user-action scoped permissions (Help Desk, Manager, Administrator, Administrator with Billing) will be able to suspend a user who has been given an admin role.
- Certain sensitive actions, such as modifying another user’s MFA, will require the Administrator with Billing role if the target user has an admin role. Jump to Understanding Permissions
Assigning an Admin Role to a User
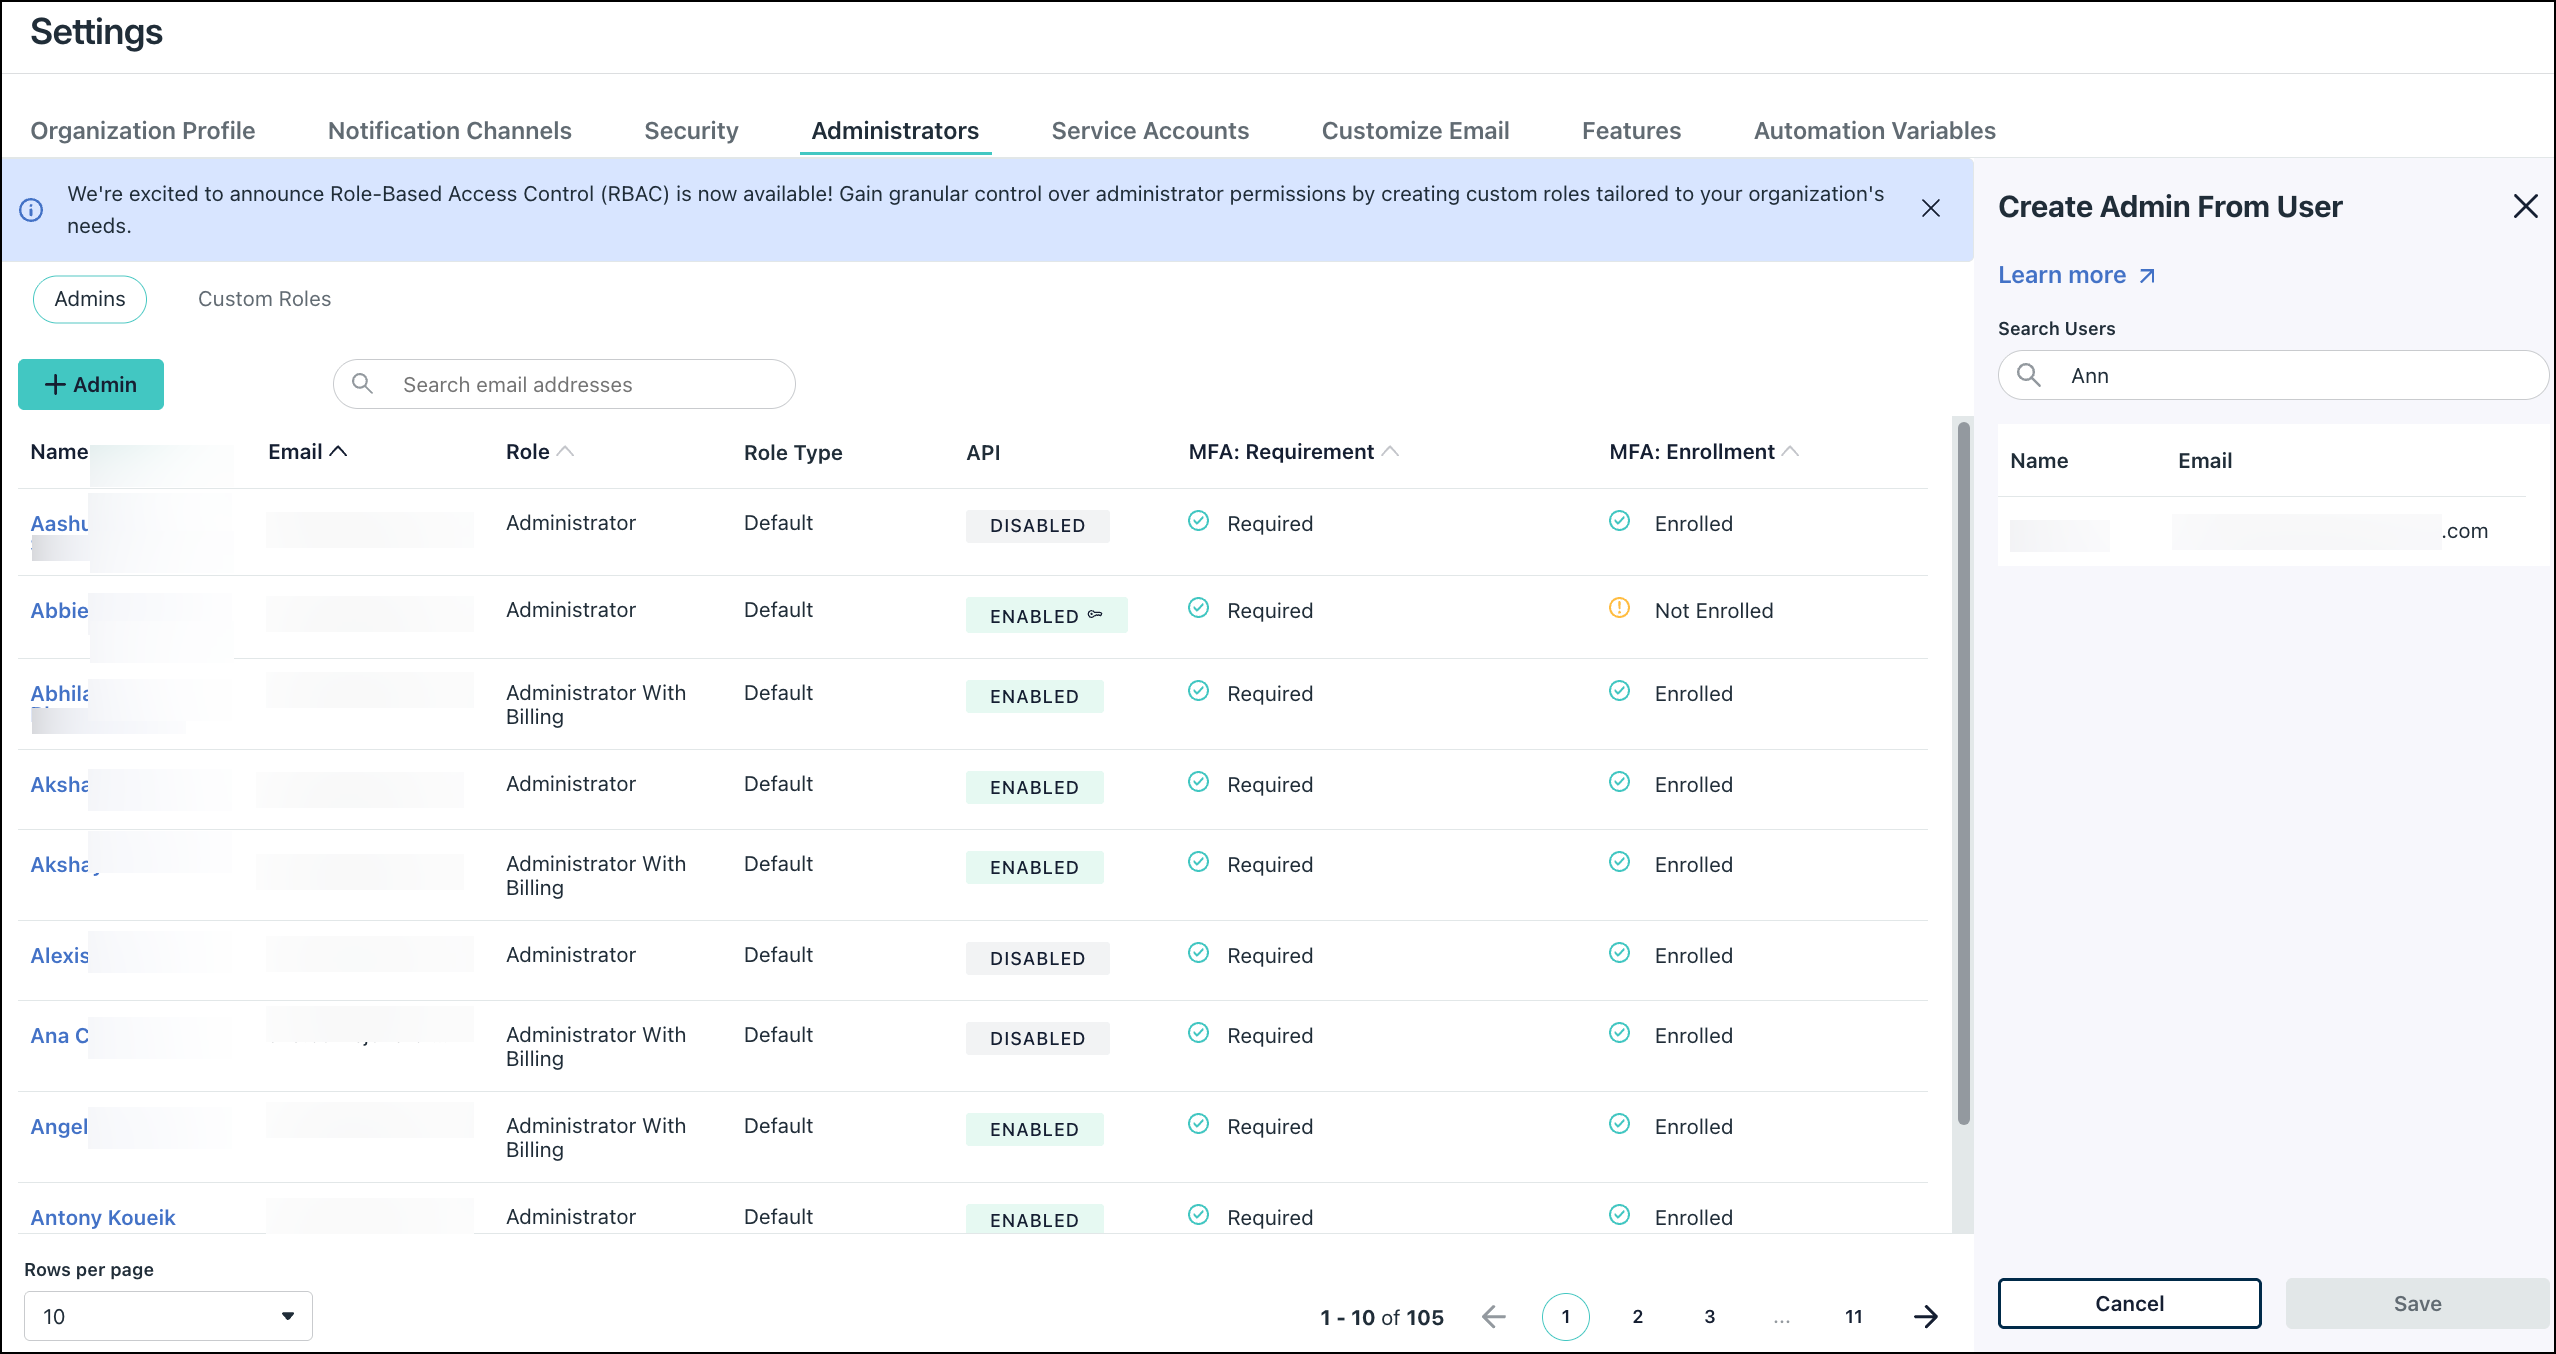
The Administrators list in the Admin Portal (Settings > Administrators) shows accounts with management access to your JumpCloud tenant. These are separate from the user accounts listed in USER MANAGEMENT > Users. By assigning an admin role to a user, you can allow the user as an admin to log in to the Admin Portal with their user credentials. You can either create a new admin from an existing user or update an existing admin to a matching user account (with the same email) to accomplish this.
To create a new admin from an existing user:
- Log in to the JumpCloud Admin Portal.
If your data is stored outside of the US, check which login URL you should be using depending on your region, see JumpCloud Data Centers to learn more.
- Go to Settings > Administrators.
- Click + Admin and select From User.
- In the Create Admin From User panel, use the search bar to find the existing user account email for the user identity you want to give an admin role.
- When a user identity is selected, the information under Details auto-populates.
- When a user identity is selected, the information under Details auto-populates.
- Under Permissions, select the administrative role you want the user to have.
- See Admin Portal Roles for more information.
- (Optional) Select the option to Enable API access for the admin, if desired.
- Click Save. The administrator identity appears in the administrators list, and the MFA Enrollment column indicates a MFA enforcement inherited from the user. An email is also sent to the user informing them of this change.
- Click From User to open the user details tab.
- On the left side of the user’s details, Admin Account appears under the user’s name indicating the user has an admin role. Click to return to the admin’s details.
- On the left side of the user’s details, Admin Account appears under the user’s name indicating the user has an admin role. Click to return to the admin’s details.
- Click From User to open the user details tab.
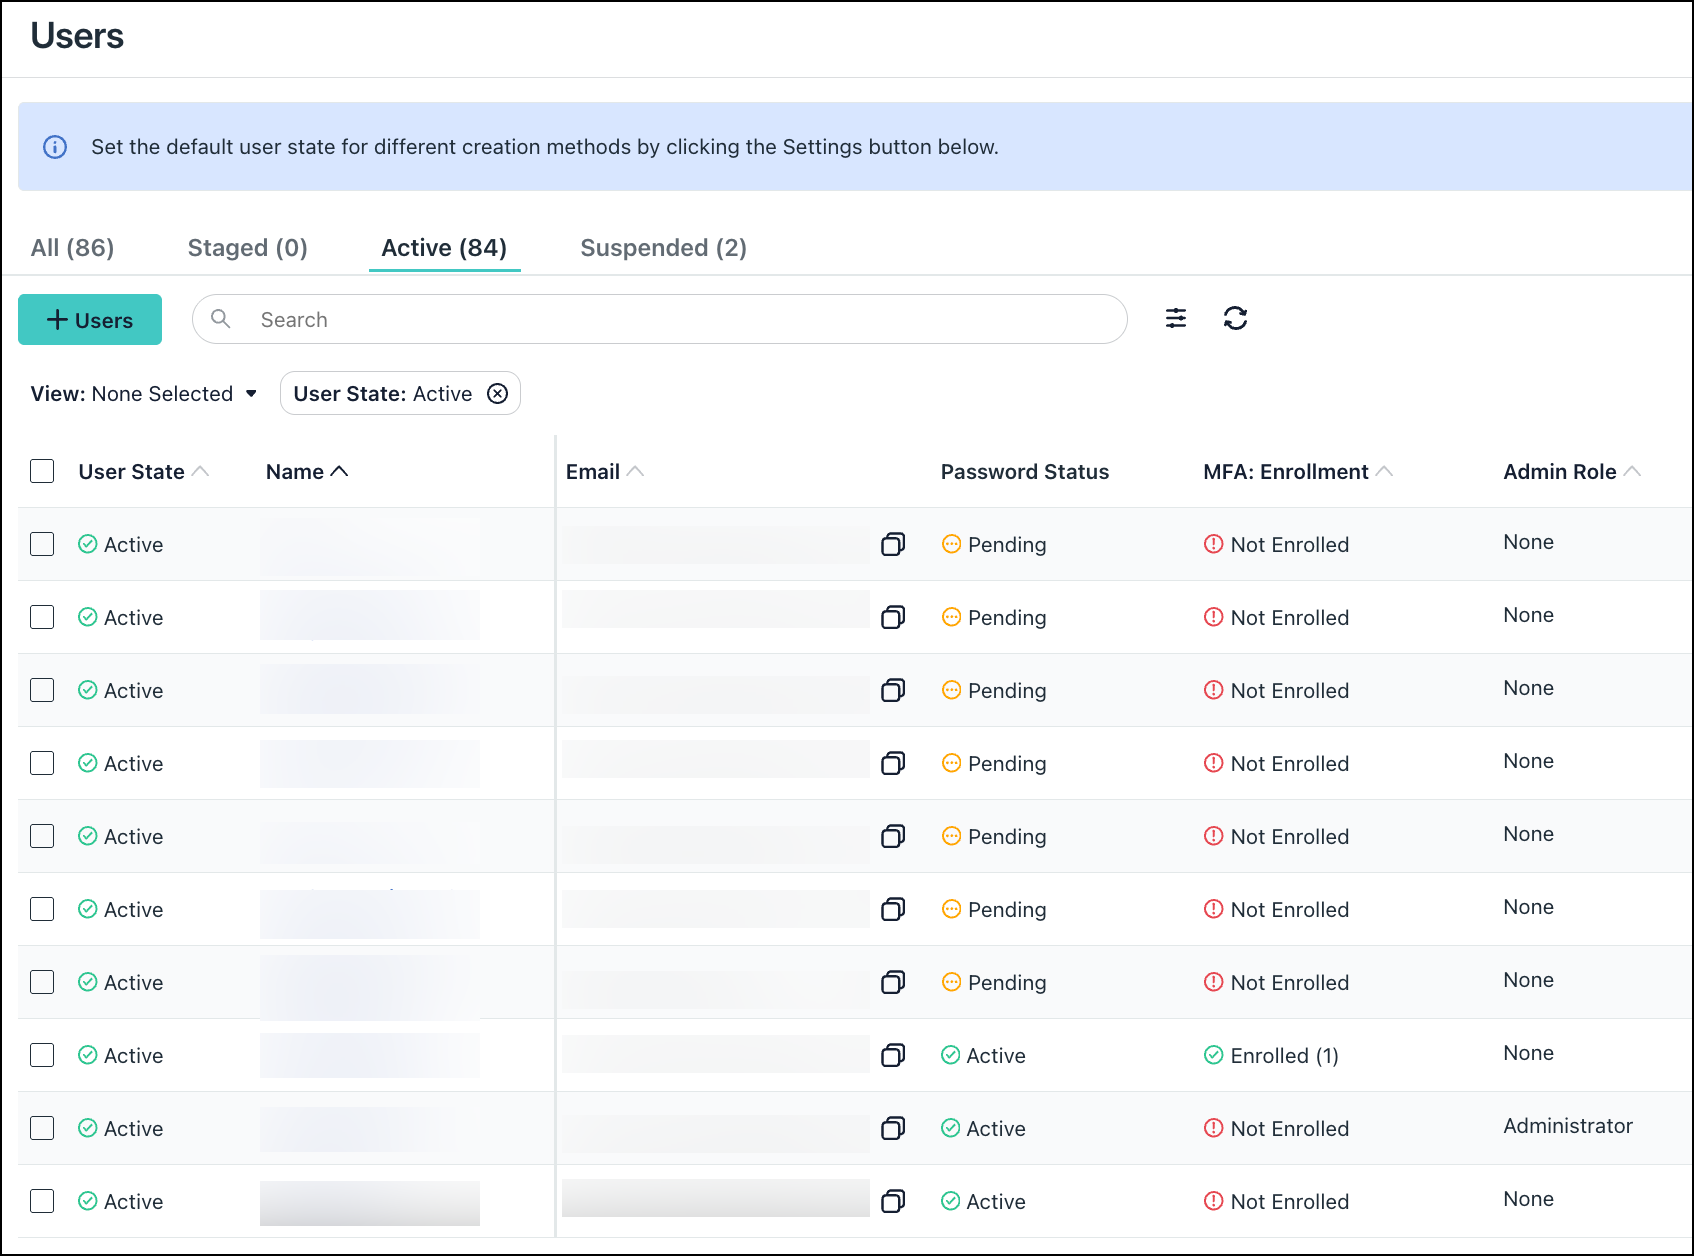
From the users list, the Admin Role column reflects that the user is an admin.
To update an existing admin with a matching user:
Admins with matching user identities are indicated in the administrators list with a tooltip next to their name.
- From the JumpCloud Admin Portal, go to Settings > Administrators.
- Click the name of the administrator you want to link to a user identity.
- From the Edit Administrator panel, scroll to Account Settings.
- Click Actions and select Assign Admin Role To User.
- Click Save. You are prompted to acknowledge that the user will be able to access the Admin Portal using their user credentials, and that the existing admin credentials will be deleted permanently. Click the checkbox next to I understand these implications.
- Click Continue. Note that if the admin was logged in, their session is terminated and they will be required to log back in to the Admin Portal with their user credentials.
- In the Admin Portal, the administrator identity appears in the administrators list, and the MFA Enrollment column indicates a linked user identity.
Logging in as a User with an Admin Role
For MFA considerations, see our MFA Guide for Admins.
To log in to the Admin Portal directly:
- Using a supported browser, go to the JumpCloud Admin Portal.
- In Email, enter your company email address and click Continue.
- In Password, enter your user password, then click Login.
- Provide the MFA that has been set for the user.
- You are logged in to the Admin Portal.
To launch an Admin Portal session from the User Portal:
- In the User Portal, click your initials in the top right of the page and click Launch Admin Portal.
- You are prompted for step-up MFA.
Changing Your Password as a User with an Admin Role
Users can change their password at any time in the User Portal. See Change Your User Portal Password for instructions. Because a user who has been given an admin role no longer has admin credentials, it is no longer possible to change the password from the admin side.
- If you try to change your password from the Admin Portal, you will be prompted to update it instead in the User Portal.
- Admins are also prevented from resetting their own user password in the Admin Portal from the user’s Details > User Security Settings and Permissions area.
Understanding Permissions
Reference the table to view the permissions required to perform certain actions on users with admin roles. These permissions are also required for the same actions in the API.
| Action on user with admin role | Requires Administrator with Billing role | Requires only a role scoped to Users (Help Desk, Manager, Administrator, Administrator with Billing) |
|---|---|---|
| TOTP reset & enroll | X | |
| Create/update/delete WebAuthn credentials | X | |
| Create/update/delete JumpCloud Protect credentials | X | |
| Create/update/delete SSH keys | X | |
| Delete user | X | |
| Remove admin access (restore to regular user) | X | |
| Remove individual user MFA requirement | X | |
| Require MFA for individual user | X | |
| Force password reset | X | |
| Set password* | X | |
| Change the password authority | X | |
| Suspend* & activate | X | |
| Unlock | X | |
| Other user operations not listed | X |
* Denotes operations also performed by external integrations such as SCIM.
Removing an Admin Role
To remove admin permissions, you can remove an admin role from a user or delete the user with the admin role.
Removing the Role
This action preserves the user account.
To remove admin access from the user:
- From the JumpCloud Admin Portal, go to Settings > Administrators.
- Select the administrator you want to remove access for.
- From the Edit Administrator panel, scroll to Account Settings.
- Click Actions and select Remove Admin Access.
- To proceed, read and click the checkbox to acknowledge the implications of removing the admin role. The user will no longer be able to log in to the Admin Portal and any integrations that use the admin’s API key will break. The administrator identity will no longer exist.
- Click Continue. The administrator account is deleted. While the user account is preserved, the user is no longer able to log in to the Admin Portal with their user credentials.
Deleting the User
Deleting the user account will automatically remove the admin role and delete the admin account associated with the user.
- From the JumpCloud Admin Portal, go to User Management > Users.
- Select the user with admin permissions from the users list and click Delete.
- Enter the number of users you are about to delete and click Delete User.
- The user is removed from the users list, along with the associated admin under Settings > Administrators.
Reporting Events in Directory Insights
There are a number of actions recorded in Directory Insights when a user is given an admin role. Reference the table below for the action and event type captured in Directory Insights. For more information on using Directory Insights, see View the Directory Insights Data Activity Log.
- When you take an action to add or remove an admin role from a user, you will see a user update event.
- Each time you log in as a user with an admin role, you will see a user login event.
| Action | Events |
|---|---|
| User given admin role(admin created) |
user_update admin_create |
| User given existing admin role(admin update) |
user_update admin_update |
| User has admin role removed(admin is deleted) |
user_update admin_delete |
| User with admin role logs in to Admin Portal (admin logs in) |
user_login_attempt* admin_login_attempt *Note: Filters initiated_by.administrator = true and target_resource.type = admin_portal must be applied for accurate results |


