
This policy configures the device time zone and Network Time Protocol (NTP) Server. NTP synchronizes device clocks over the Internet. If your computer sets its own clock, it likely uses NTP.
To create an NTP Server policy for Mac:
- Log in to the JumpCloud Admin Portal.
![]()
Important:
If your data is stored outside of the US, check which login URL you should be using depending on your region. If your organization uses LDAP, RADIUS, or requires firewall allow list configuration, the Fully Qualified Domain Names (FQDNs) will also be region specific. See JumpCloud Data Centers for the URLs, FQDNs, and IP addresses.
- Go to Device Management > Policy Management.
- In the All tab, click (+).
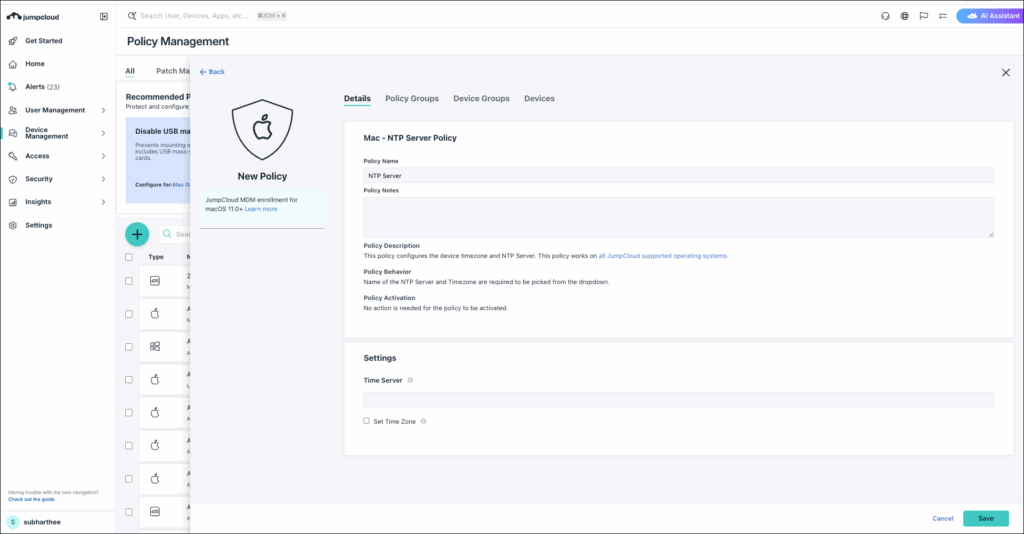
- On the New Policy panel, select the Mac tab.
- Select the NTP Server policy from the list, then click configure.
- Under Settings, in the Time Server field, enter the name of the Time Server.
![]()
Note:
The Time Server is the hostname of the NTP Server that the device will use. To enter multiple time server names, separate each name by a comma.
- Select Set Time Zone to enable the time zone.
- (Optional) Select the Device Groups tab. Select one or more device groups where you'll apply this policy. For device groups with multiple OS member types, the policy is applied only to the supported OS.
- (Optional) Select the Devices tab. Select one or more devices where you'll apply this policy.
- Click save.
Back to Top