
Connect


Contents
The latest release of Red Hat Enterprise Linux 9 (RHEL 9) was officially made generally available (GA) by Red Hat on May 17, 2022, taking over from the beta version released on November 2, 2021.
RHEL 9 brings major changes that seek to enhance performance, improve stability, and boost security. Some of the notable improvements and enhancements in the latest release include:
- Improvements in the Cockpit web console, such as an enhanced performance metric page that helps identify issues from high memory and CPU utilization to bandwidth spikes.
- Live kernel patching using the Cockpit web console. Critical kernel security updates and patches can be applied without the need for scheduling downtime.
- Security enhancements for SELinux and OpenSSH.
- Newer versions of language runtimes such as Python 3.9, Node.js 16, PHP 8.0, and Ruby 3.0.3 to mention a few.
- Latest compilers such as GCC 11.2.1 and updated versions of Go (1.17.1), Rust (1.58.1), and LLVM (13.0.1).
- An image builder tool for creating custom RHEL system images in a variety of formats.
Check out the release notes for the most detailed and comprehensive list of all the new features and improvements in RHEL 9.
In this tutorial, we’ll demonstrate how to perform an in-place upgrade from RHEL 8 to RHEL 9.
Prerequisites
Before you begin, please ensure you have the following set of requirements:
- An instance of Red Hat Enterprise Linux 8
- A fast and reliable internet connection
- Minimum boot partition of 100MB (500MB recommended)
Step 1: Upgrade Your System to RHEL 8.6
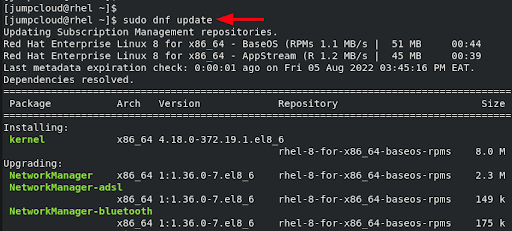
To perform the in-place upgrade from RHEL 8 to RHEL 9, you need to be running RHEL 8.6, which is the required source OS version. If you have an older release, then upgrade it to RHEL 8.6 as follows.
$ sudo dnf update
Once the upgrade is complete, verify that you are running RHEL 8.6 as follows.
$ cat /etc/redhat-release

Step 2: Verify You Have a Red Hat Enterprise Linux Server Subscription
Next, you need to confirm your system has an active Red Hat subscription. To do so, open your terminal and execute the following command:
$ sudo subscription-manager list --installed
If your RHEL 8 system has a subscription, the following output will be displayed:
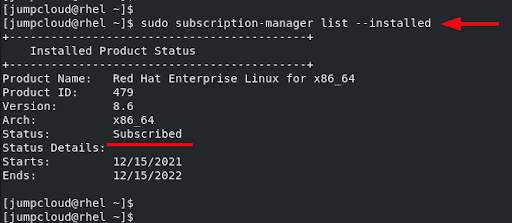
If this is not the case, you will need to register and subscribe your RHEL system to the Red Hat Customer Portal before continuing to Step 3.
Step 3: Delete the “tmp_leapp_py3” Directory
If you had previously performed an in-place upgrade from RHEL 7 to RHEL 8, you need to purge the /root/tmp_leapp_py3 directory with the following command:
$ sudo rm -Rf /root/tmp_leapp_py3
If you are starting from RHEL 8, skip this step.
Step 4: Confirm BaseOS and AppStream Repositories Are Enabled
Next, ensure the BaseOS and AppStream repositories are enabled as follows.
$ sudo subscription-manager repos --enable rhel-8-for-x86_64-baseos-rpms --enable rhel-8-forx86_64-appstream-rpms

If you are upgrading using Red Hat Update Infrastructure (RHUI) on AWS, then enable the required RHUI repositories.
$ sudo dnf config-manager –set-enabled rhui-client-config-server-8
Next, install the required RHUI packages to ensure your system is ready for the upgrade.
$ sudo dnf -y install rh-amazon-rhui-client-ha leapp-rhui-aws
Step 5: Lock the System to RHEL 8.6
Next, lock your RHEL system to RHEL 8.6. This marks the version of RHEL from which the upgrade will start.
$ sudo subscription-manager release --set 8.6

Step 6: Update Packages to the Latest Versions
In the next step, update all packages to the latest versions.
$ sudo dnf update
Then reboot your system.
$ sudo reboot
Step 7: Install the Leapp Utility Tool
The Leapp utility is a command-line tool that allows users to make an in-place upgrade. Under the hood, the Leapp utility does the following:
- Prepares the process before the first reboot
- Executes the upgrade process in the RAM disk
- Runs minor post-upgrade tasks after the upgrade from the RAM disk
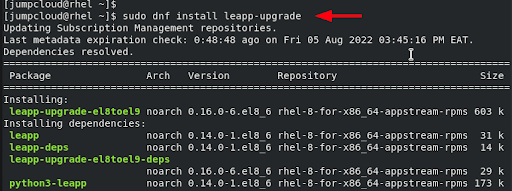
To install the Leapp utility, run the command:
$ sudo dnf install leapp-upgrade -y
Step 8: Remove the Versionlock Plugin
The Versionlock plugin is a plugin that holds back packages from being upgraded to newer versions. If you are using the plugin to lock packages to a specific version, clear the lock as shown.
$ sudo dnf versionlock clear
Step 9: Edit the Firewalld Configuration
For a seamless upgrade to RHEL 9, you need to disable the AllowZoneDrifting value in the Firewalld configuration. If your firewall configuration needs it, be sure to edit the value back to the default after you complete your system upgrade.
To edit the Firewalld configuration, first switch to the root user.
$ sudo su
Then access the configuration file.
# vim /etc/firewalld/firewalld.conf
Locate and “insert a comment” at the AllowZoneDrifting attribute; save and quit vim.

Save and restart Firewalld for the changes to apply.
# systemctl restart firewalld
Step 10: Perform a Pre-Upgrade and Resolve Any Issues
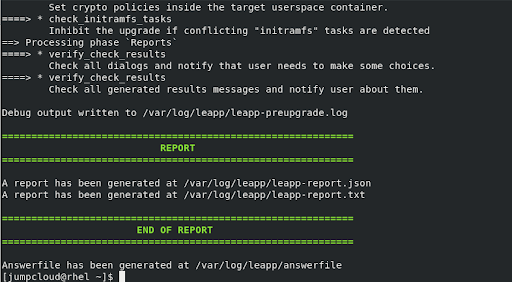
Before upgrading to RHEL 9, it’s a good idea to evaluate the upgradability of your system by executing a pre-upgrade process using the leapp preupgrade command.
During the pre-upgrade process, the Leapp utility collects data about your system, verifies the upgradability, and generates a pre-upgrade report that’s saved in the /var/log/leapp/leapp-report.txt text file.
The report contains a summary of all the potential issues that might hinder the upgrade and proposes recommended workarounds. It also determines whether or not you can continue with the upgrade, and will not allow the upgrade to run until those issues are fixed.
To begin the pre-upgrade process, run the command:
$ sudo leapp preupgrade --target 9.0
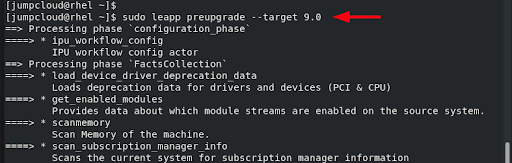
It is totally normal to run into some errors when performing the pre-upgrade process. In our case, we ran into two errors indicating the presence of invalid files. To resolve an error, click on the link provided as a hint.

Once you have successfully addressed the specific errors identified for your system, re-run the pre-upgrade operation. This time around, you should receive an error-free report that will allow you to proceed with the in-place upgrade to RHEL 9.
Step 11: Upgrade RHEL 8 to RHEL 9
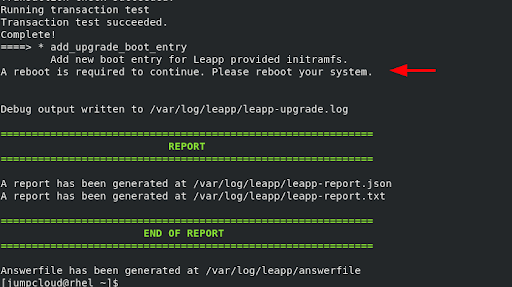
Finally, perform the upgrade to RHEL 9 by running the in-place upgrade command.
$ sudo leapp upgrade --target 9.0

The upgrade takes quite a while, so this is a good time to take a break from your desk. When the upgrade completes, you will be prompted to restart your system. Go ahead and reboot.
$ sudo reboot
On the GRUB menu select the RHEL-Upgrade-Initramfs option.
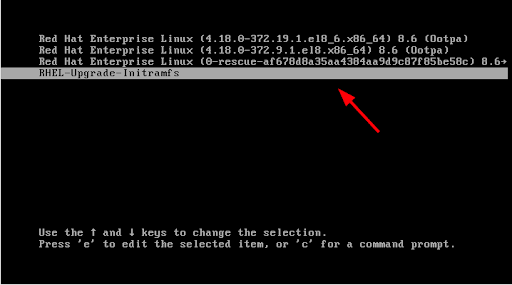
Once selected, the upgrade to RHEL 9 will continue and some packages will be upgraded while others will be obsoleted.

The system will then restart, and this time around, select the first GRUB entry as shown.
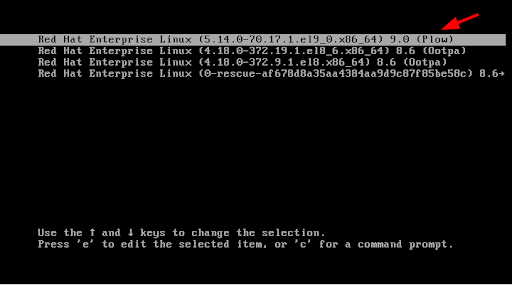
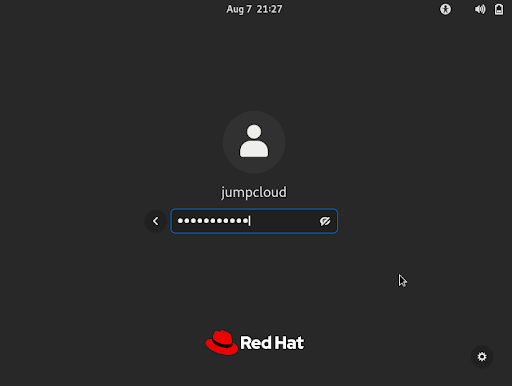
On the login screen, provide your user’s password and select ENTER to log in.
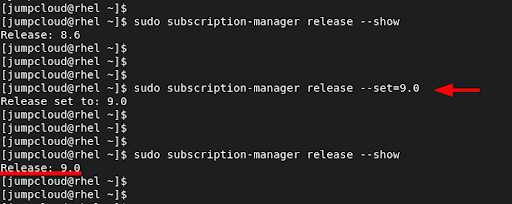
Since the system is still locked to RHEL 8.6, you need to set it again to version 9.0. To do so, run the command:
$ sudo subscription-manager release --set=9.0
To confirm the system has been set to 9.0 release, run the command:
$ sudo subscription-manager release --show
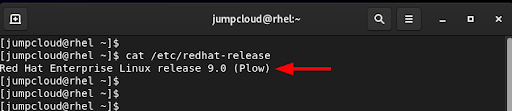
In addition, you can confirm the version of RHEL you are running as follows.
$ cat /etc/redhat-release
Conclusion
And there you have it. We have demonstrated step-by-step how to perform an in-place upgrade of RHEL 8 to RHEL 9.
Although keeping your system up to date is the first step in mitigating potential security risks, it should not be the last. This holds especially true if you’re an IT admin managing multiple Linux systems. Linux malware is increasing in volume and complexity and most small to medium-size enterprises (SMEs) aren’t ready for it.
Read more about the importance of standardizing security configurations across your fleet and how to simplify Linux device hardening.