AI & SaaS Management: Kandji Connector
JumpCloud® AI & SaaS Management gives you visibility and control over shadow IT, including AI and SaaS app usage, within your org. Connectors detect shadow IT without adoption of a browser extension and provide a significant increase to valuable usage and security insights.
The Kandji Connector retrieves user information from the Kandji API. Using periodic polling for regular updates, it captures new users to keep data accurate and up-to-date.
Prerequisites
- You must be a Kandji account owner or admin to create an API token.
Considerations
- Based on your organization’s size, the initial collection of data may take some time, up to an hour.
Configuring Kandji
- Log in to Kandji.
- In the left menu, go to Settings.
- Under the Access tab, go to API Token.
- Copy and save your API URL to use with JumpCloud.
- Click Add Token and configure the following settings:
- Copy and save the token before proceeding. You'll only see it once.
- Click Next.
- Click Configure and add the needed API permissions (read access to the user list).
- Click Save and then proceed to the JumpCloud configuration.
Configuring JumpCloud
- Log in to the JumpCloud Admin Portal.
If your data is stored outside of the US, check which login URL you should be using depending on your region. If your organization uses LDAP, RADIUS, or requires firewall allow list configuration, the Fully Qualified Domain Names (FQDNs) will also be region specific. See JumpCloud Data Centers for the URLs, FQDNs, and IP addresses.
-
Go to Access > AI & SaaS Management > Settings.
-
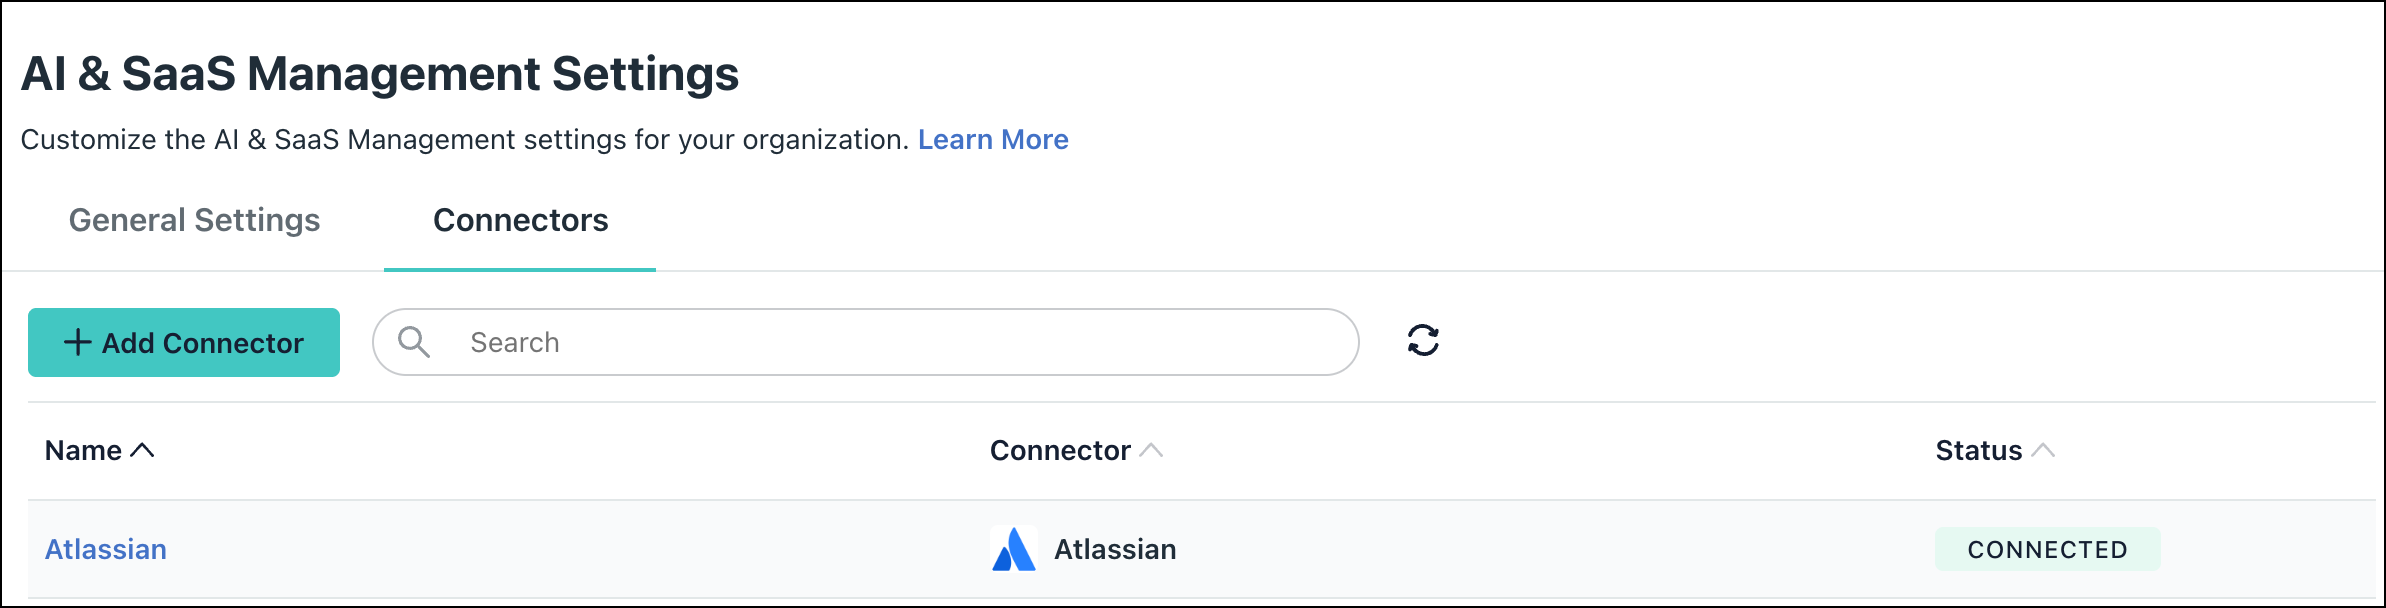
Under AI & SaaS Management Settings, click the Connectors tab, then click + Add Connector.
-
Click the Kandji connector.
-
Configure the following settings:
- Enter a Connector name.
- For the API Key, paste the key from Kandji.
- For the API URL, paste the value from Kandji.
-
Click Connect and then Save Connector.
-
You will now see Kandji in your list of Connectors.
If permissions are accidentally removed, or if the admin who configured left your organization, the connector will stop working and you will be prompted to Reconnect.

Uninstall/Remove
-
On the Connector’s detail page, click on Delete Connector and follow the prompts.
-
To revoke the permissions granted to JumpCloud, delete the API token created in Kandji.
Was this information helpful?