Grant Temporary Access to PAM Resources with Access Requests
Access Requests lets users ask for temporary access to a Privileged Access Management (PAM) resource instead of keeping permanent access. An approver reviews the request, and the access ends by itself when the time expires. This reduces standing privileged access and leaves a record of who asked, why, and for how long.
Access Requests works with groups. When a request is approved, the requester becomes a temporary member of a user group that you chose. Everything that is shared with that group in PAM becomes available to the user for that time. When the time ends, the user leaves the group and PAM disconnects the user.
The process has five parts:
-
You share the resource and its credential with a user group that is enrolled in PAM.
-
You create a Resource Approval flow that adds users to that group for a limited time.
-
A user requests access in the User Portal and explains why.
-
An approver grants or denies the request.
-
The user connects while the access is active. When the time ends, PAM disconnects the user.
Prerequisites
-
The resource is registered in PAM.
-
A credential is created and linked to the resource.
-
A user group exists and is enrolled in PAM. To enroll a group, go to Access > PAM > User Groups, and then select Add User Group.
The group can stay empty. It is common to create a group that is used only for Access Requests, with no permanent members.
Sharing the Resource and the Credential with the Group
Complete this part before you create the approval flow. This way, the access works as soon as a user is added to the group.
-
In the Admin Portal, go to Access > PAM > Privileged Resources. Open the resource.
-
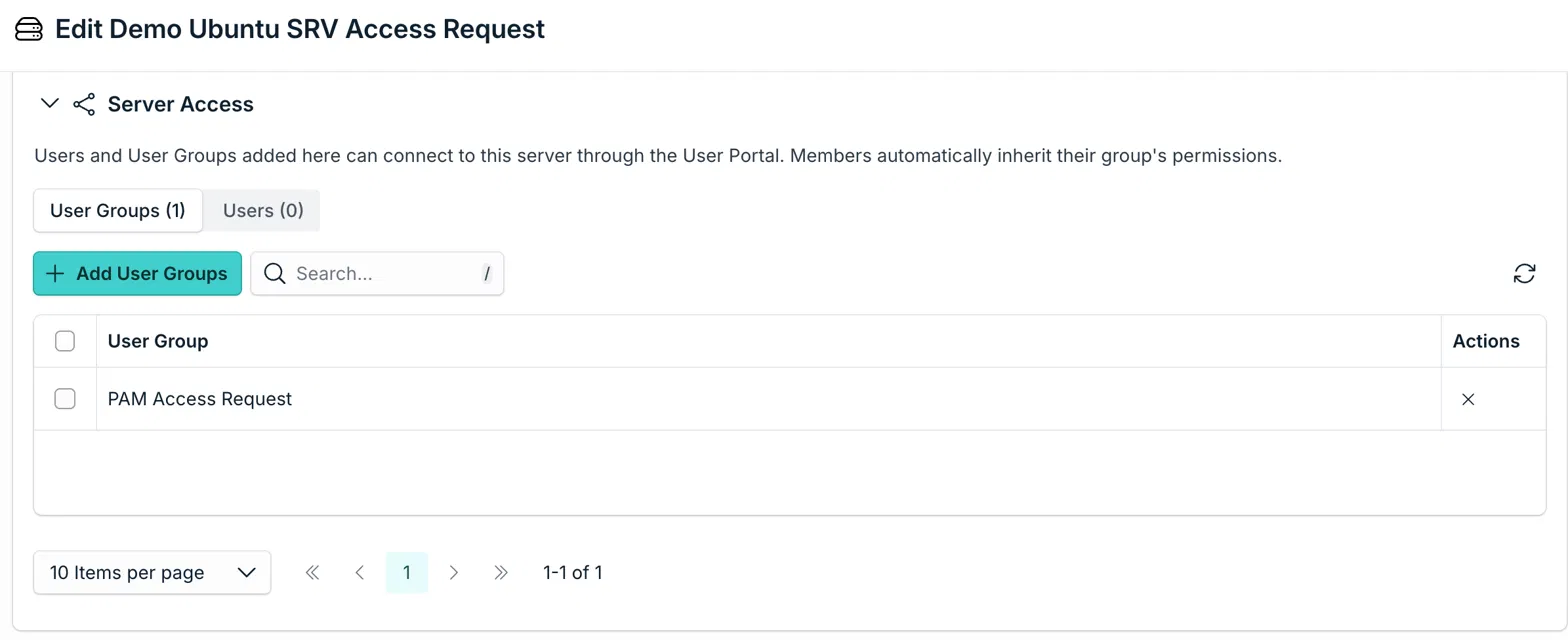
In the Server Access section, on the User Groups tab, select Add User Groups and add the group.
-
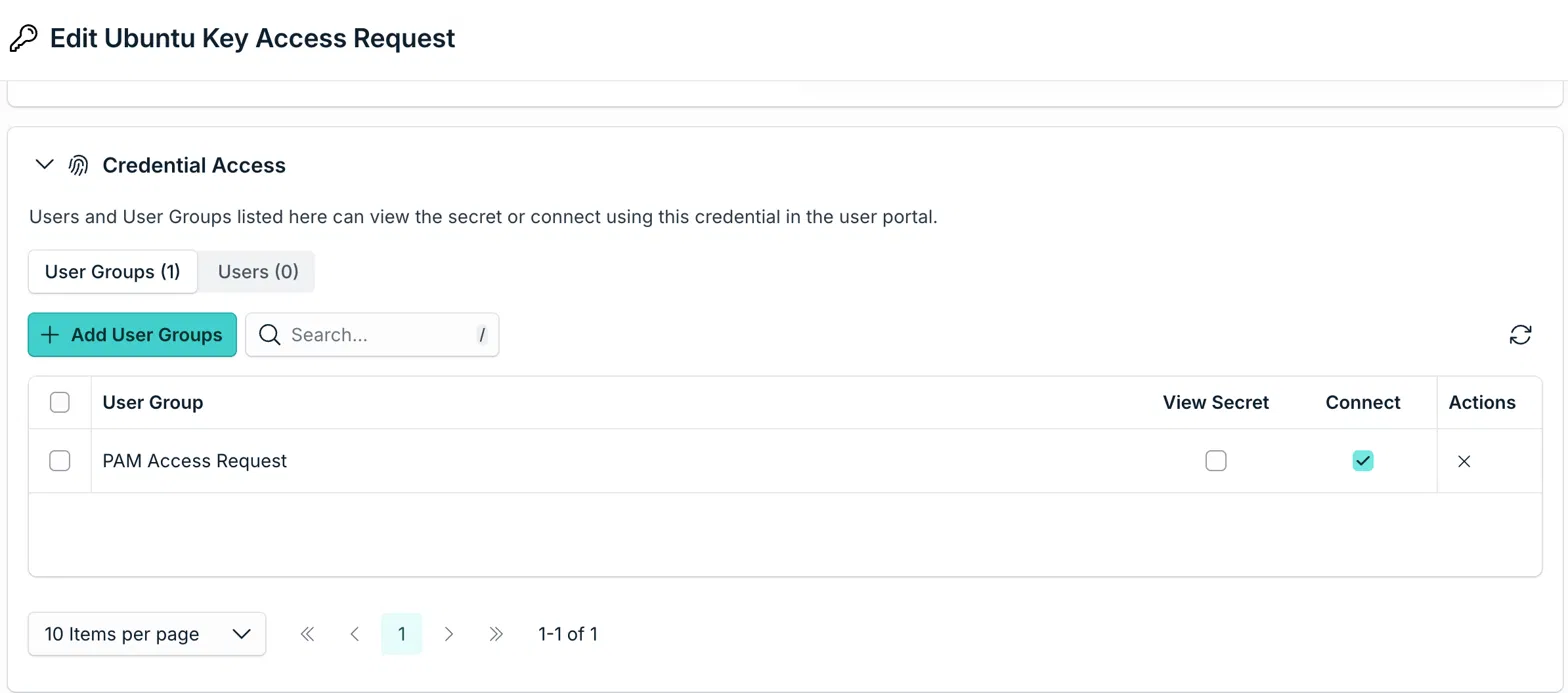
Open the credential that is linked to the resource. In the Credential Access section, select Add User Groups and add the same group.
-
Select Connect for the group. Select View Secret only when users must see the stored secret.
Repeat these steps for every resource that users must reach with the same request.
Creating the Approval Flow
-
In the Admin Portal, go to Access > Access Requests.
-
Select the Approval Flows tab, select Add Approval Flow, and then select Resource Approval.
-
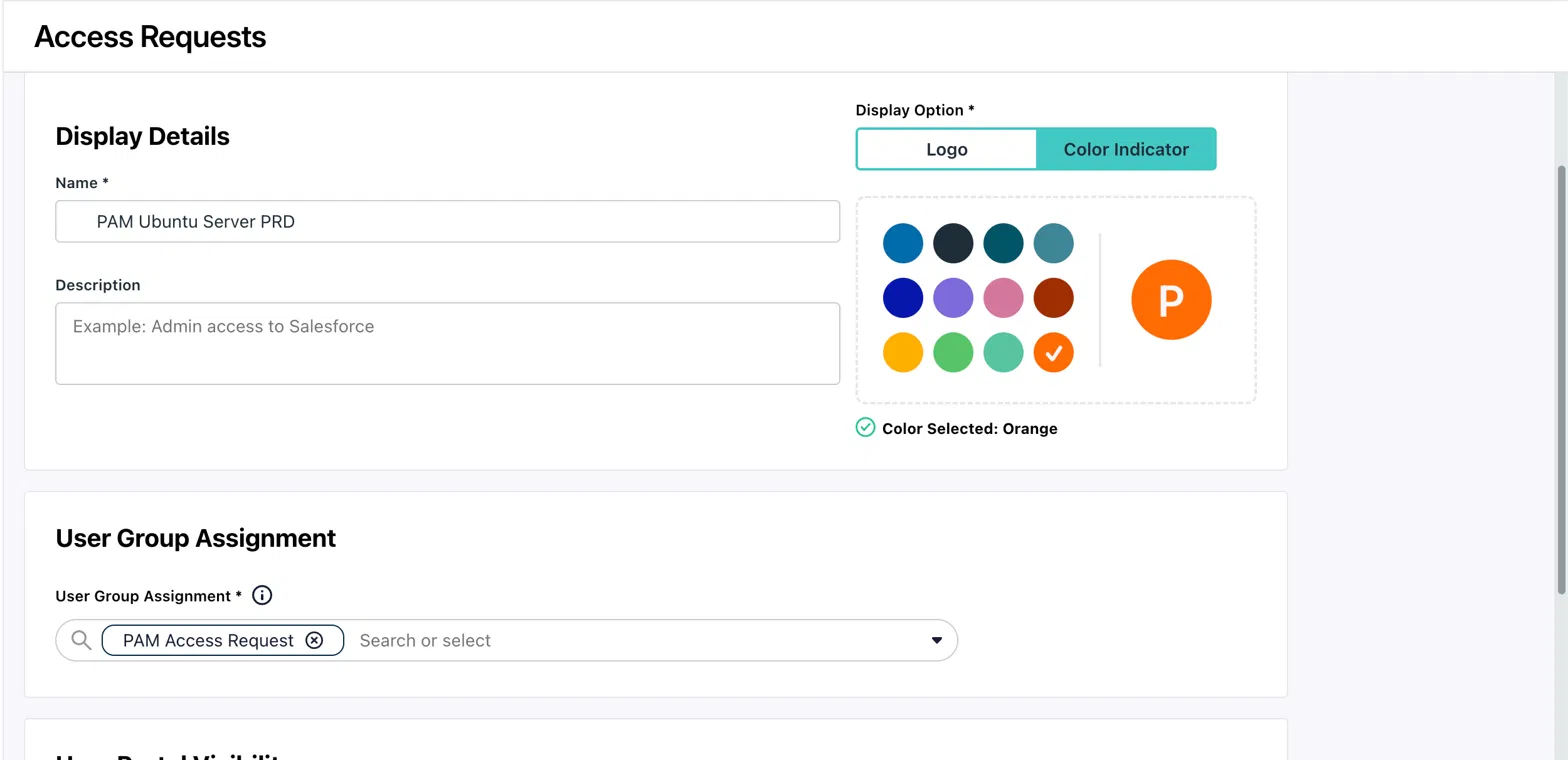
In Display Details, enter a Name. Users see this name in the User Portal. You can add a description. For Display Option, select Logo or Color Indicator and choose a color.
-
In User Group Assignment, select the group that you prepared. Approved users become temporary members of this group.
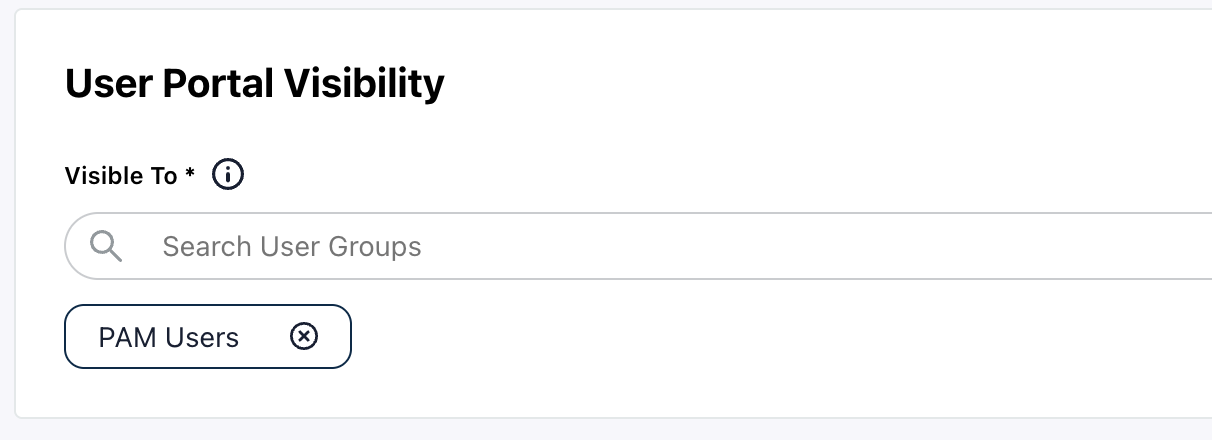
- In User Portal Visibility, select the groups that can see this flow and request access in the User Portal. Only members of these groups can request.
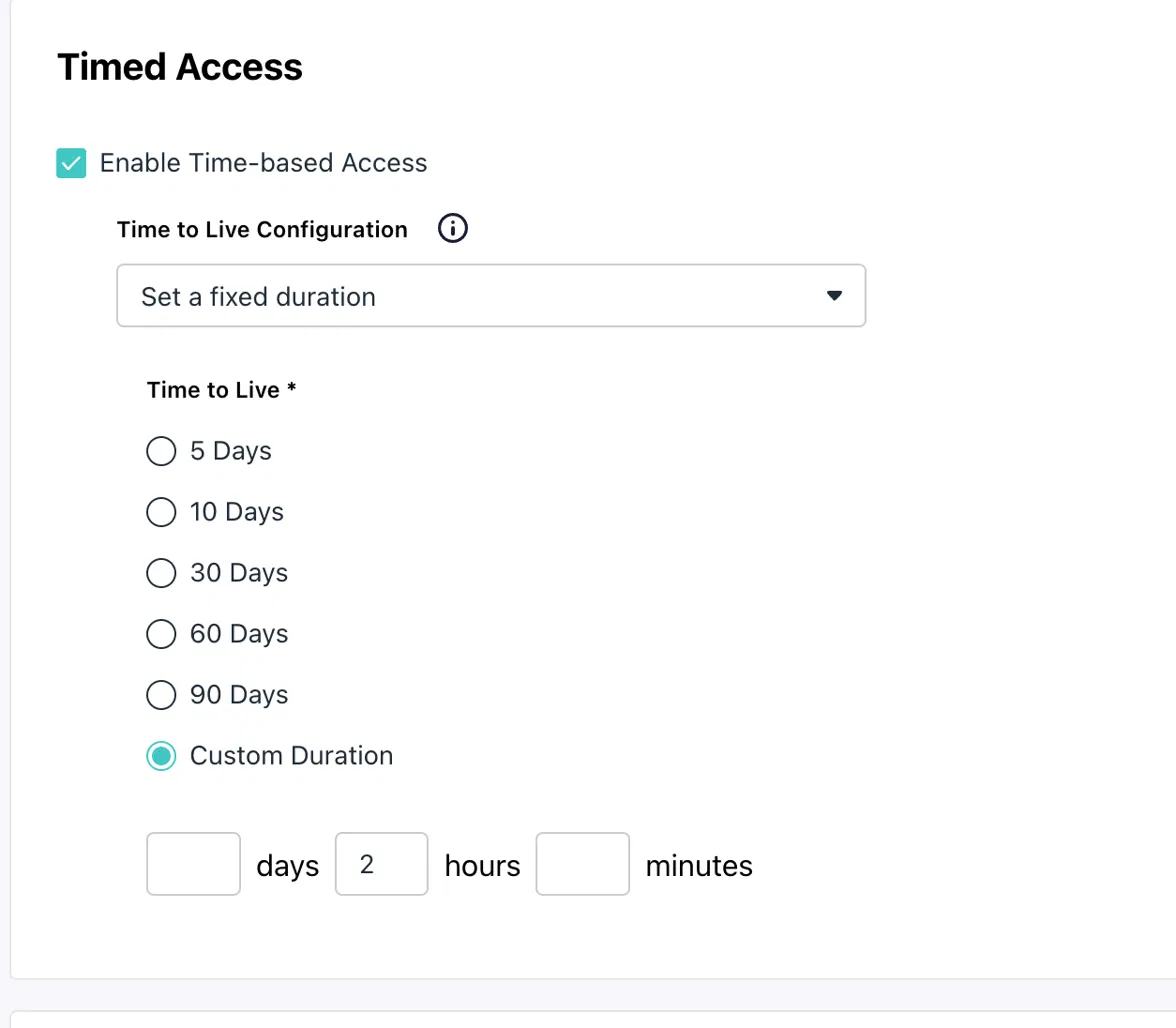
- In Timed Access, select Enable Time-based Access. Then, in Time to Live Configuration, choose how the duration is defined.
| Option | How it works |
|---|---|
| Set a fixed duration | All requests have the same duration, for example 2 hours. Select Custom Duration and enter days, hours, and minutes. |
| Define durations for users to choose | You select the durations that users can pick, from 5 to 90 days, or add a custom duration. Users choose one when they request access. |
-
In Approval Configuration, select the Approval Type.
-
Automatic: requests are approved without a person reviewing them.
-
Manual: a person approves each request. Select the Approver Type: Administrator, Requester's Manager, Resource Owner, or User Group.
-
-
(Optional) To receive and approve requests in Slack, select Allow Slack Approvals. You must first configure your Slack workspace in Settings > Notification Channels > Slack.
-
Save the approval flow.
Requesting Access in the User Portal
Users who are in a Visible To group follow these steps.
-
In the User Portal, select Requests.
-
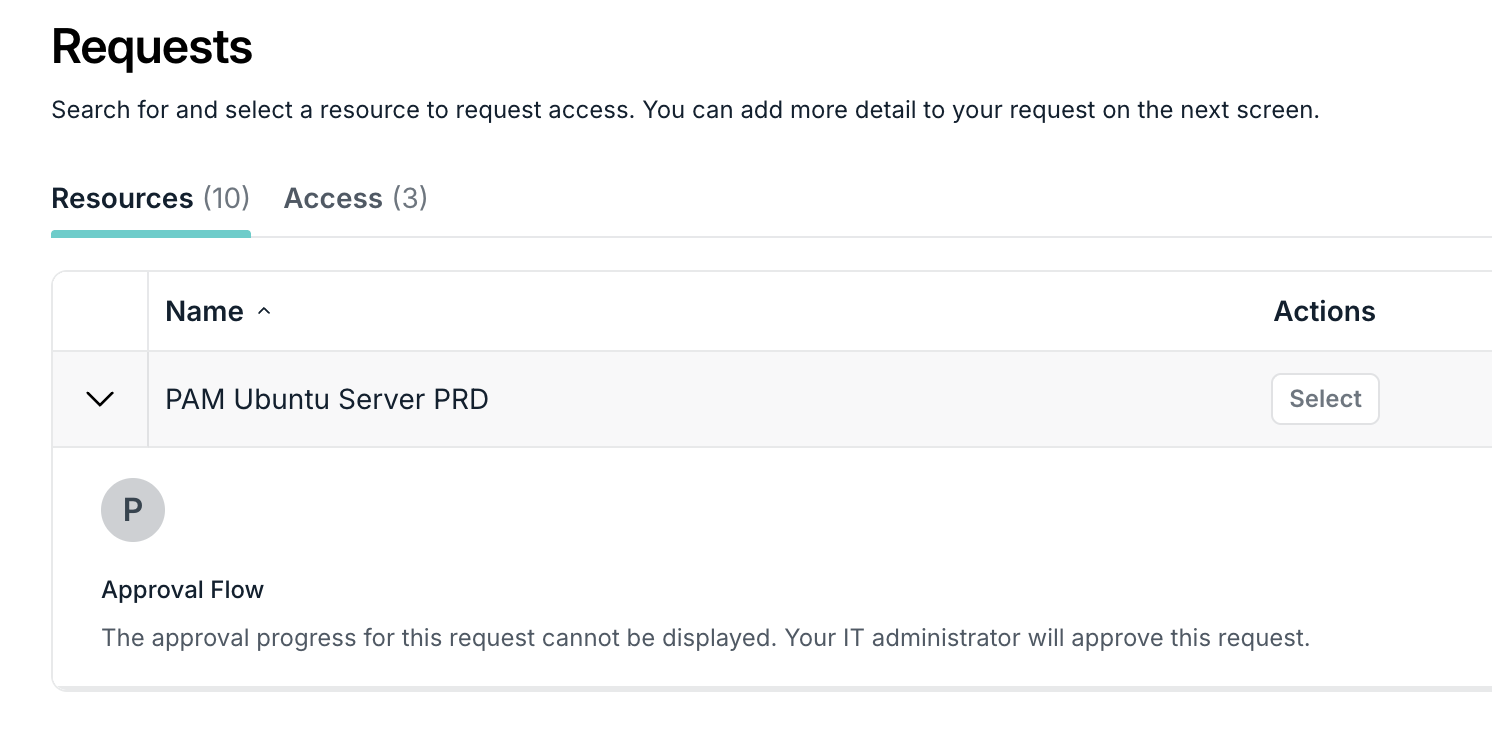
On the Resources tab, search for the name of the approval flow and select Select.
-
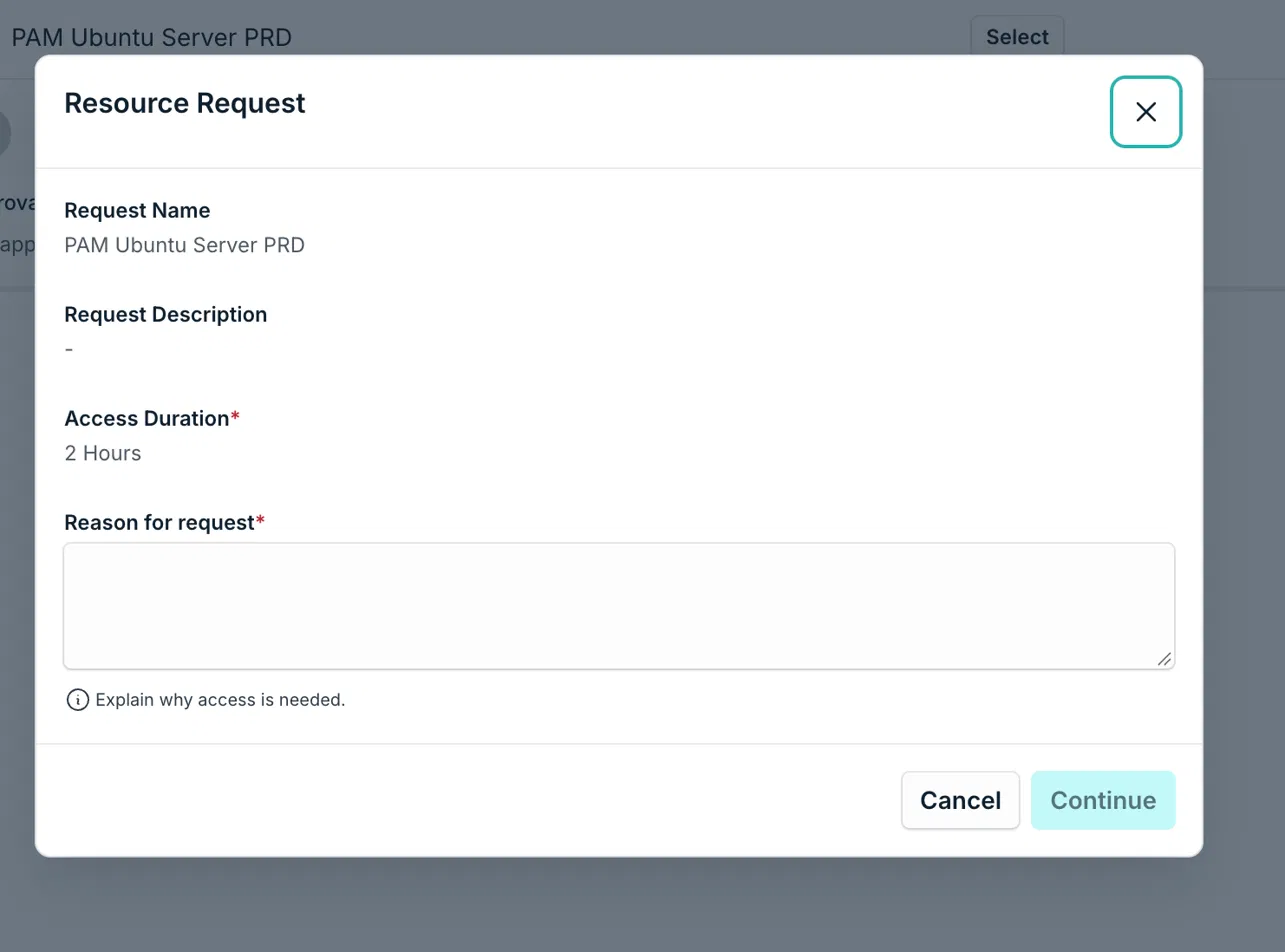
In the Resource Request window, review the Access Duration. If the flow lets users choose, select the duration.
-
Enter the Reason for request. This field is required. Approvers see it in the request queue, so a ticket number or a short business reason helps them decide.
-
Select Continue.
The User Portal does not show the approval progress of the request. The user waits for the approver.
Approving or Denying a Request
-
In the Admin Portal, go to Access > Access Requests, and then select the Request Queue tab.
-
Select the request to expand it. Review the Requester, the Duration, the Reason for Request, and the Approval Progress.
-
Select Deny Access or Grant Access.
-
If you grant access, confirm the Access Duration. The Access Expiration shows the date and the time when the access ends. You can add a Message to Requester and then select Grant Access.
What Happens After Approval
-
The user becomes a member of the group for the approved time. To see the current members, go to Access > PAM > User Groups, select the group, and then select View Members.
-
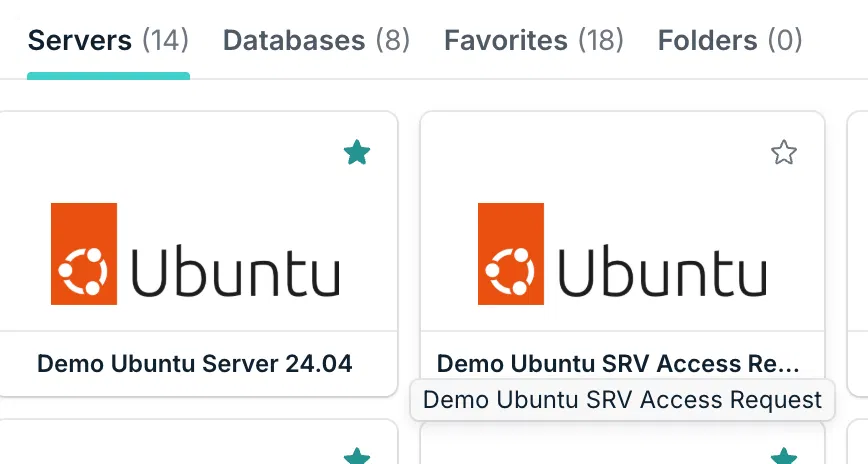
The resources that are shared with the group appear in the User Portal. The user connects as usual. For the steps, see Get Started: Connect to a PAM Resource as an End User.
-
When the access is about to end, the User Portal shows a message that the timed access to the resources is running out.
-
When the time ends, the user leaves the group, and PAM disconnects the user from the active sessions.
To review what the user did during the access, see Review and Audit Sessions with Session History.
Best Practices
A temporary member receives everything that is shared with the group. If the group is also shared with other resources, the user gets access to those resources too, not only to the resource in the request.
Follow these practices to keep the access limited to what the user requested.
-
Use a dedicated group. Create a group for each approval flow, or for each set of resources that users should request together. Do not reuse groups that are already shared with other resources.
-
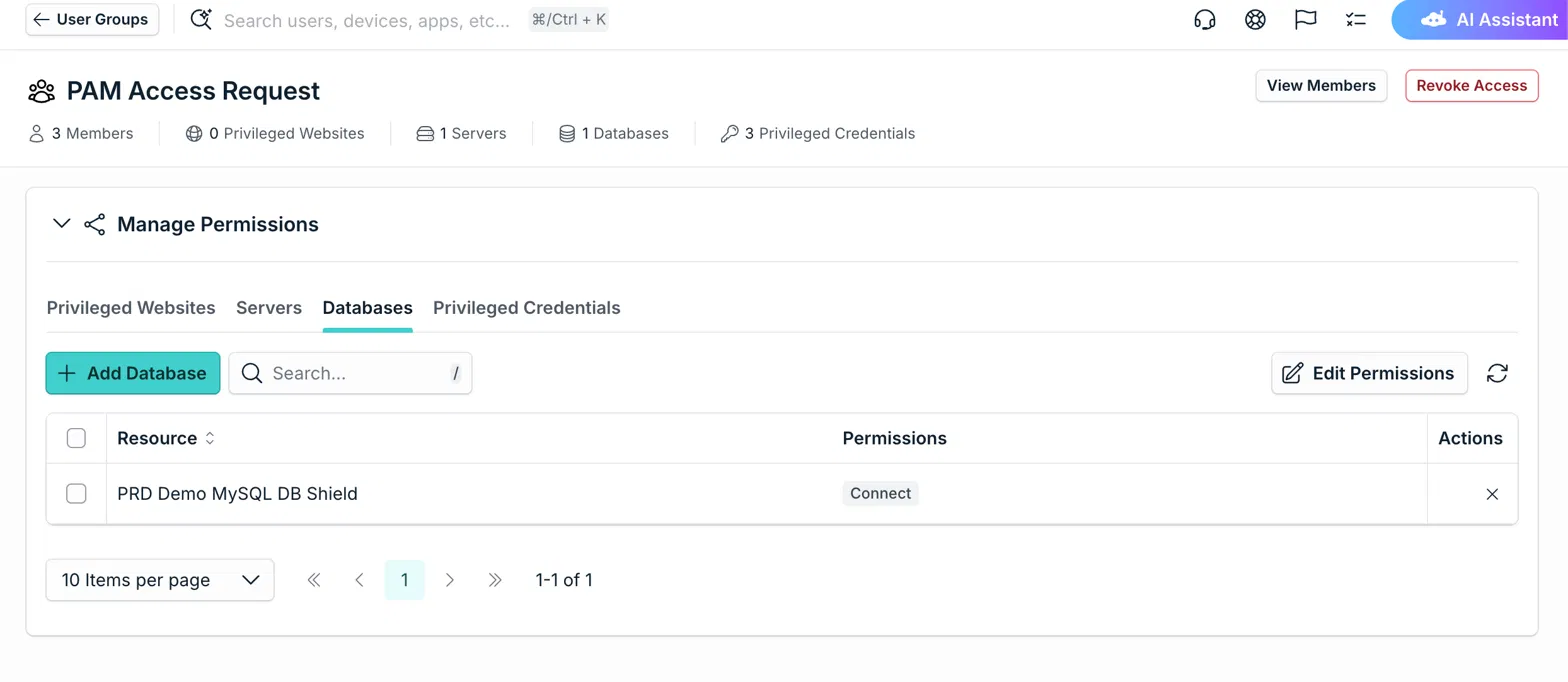
Check what is shared before you assign a group. Go to Access > PAM > User Groups, and then select the group. On the Manage Permissions section, review the Privileged Websites, Servers, Databases, and Privileged Credentials tabs.
-
Prepare the sharing first. Share every resource and credential with the group before you publish the flow, as described above. After that, you do not need to add members to the group.
-
Grant the minimum on the credential. Select Connect only. Add View Secret when users must see the stored secret.
-
Limit who can request. In User Portal Visibility, select only the groups that need the access. For example, not every team needs to request access to a production database.
-
Use short durations. A fixed duration such as 2 hours is a common choice for production resources.
-
Choose the approval type by risk. Use manual approval for production and sensitive resources. Use automatic approval only for low risk resources.
Troubleshooting
The user cannot find the approval flow
- Check that the user is a member of a group in the Visible To field of the flow.
The request was approved, but the user cannot see or connect to the resource
-
Check that the group is enrolled in PAM.
-
Check that the group is in the Server Access list of the resource, or in the list of the database or website.
-
Check that the group is in the Credential Access list of the credential, with Connect selected.
-
Check that the access did not expire.
Was this information helpful?