Custom Query Builder in Reports
The Custom Query Builder lets administrators create tailored reports by choosing which JumpCloud objects to query, defining filter conditions, and selecting the columns to display. Unlike prebuilt JumpCloud Reports (for example, Users to Devices or Device Inventory), the Custom Query Builder gives you full control over:
- What data to include: Pick a primary entity (such as Users or Devices) and add secondary entities.
- Which records to return: Apply filters using advanced operators (equals, contains, is null, and more).
- How results are presented: Choose columns, sort order, and export format.
Building a Custom Query
You can build queries in two ways.
| Method | Best For |
|---|---|
| Manual Report Builder | Precise, repeatable reports when you know the objects, fields, and conditions you need. |
| AI Assistant | Getting started quickly by describing what you want in simple language. |
Building a Query Using Manual Report Builder
Use the manual builder when you want full control over every condition and column.
To generate a report using manual report builder:
- Log in to the JumpCloud Admin portal.
- Go to Insights > Reports.
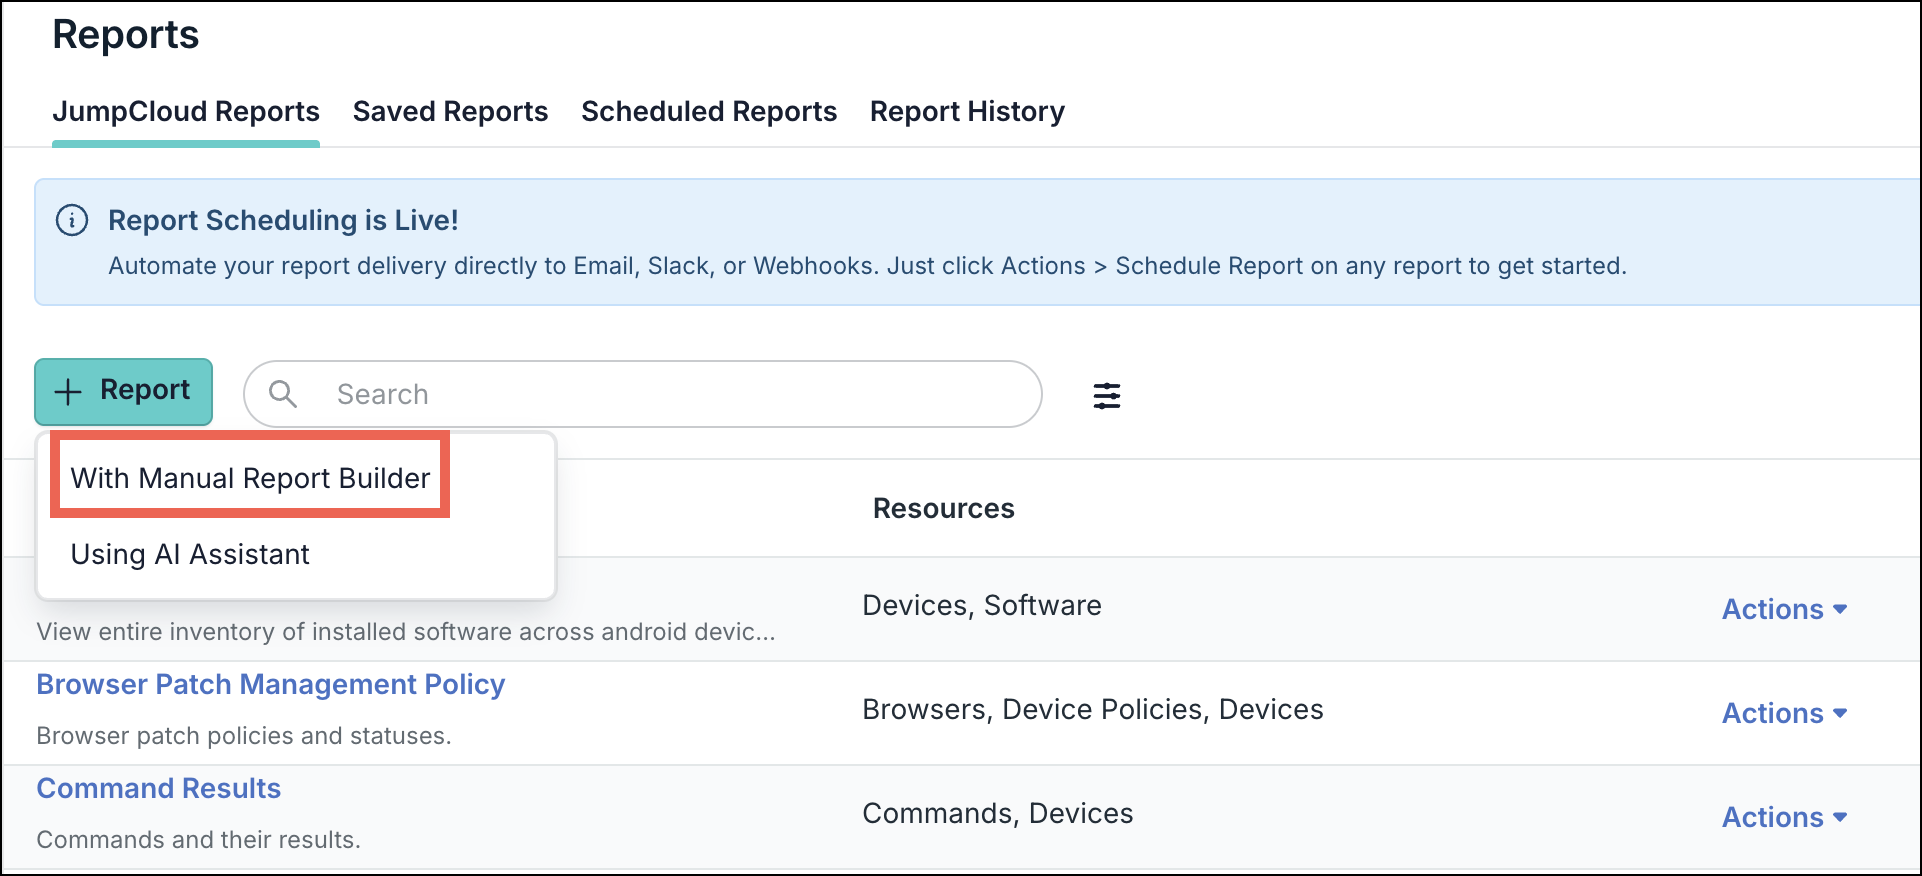
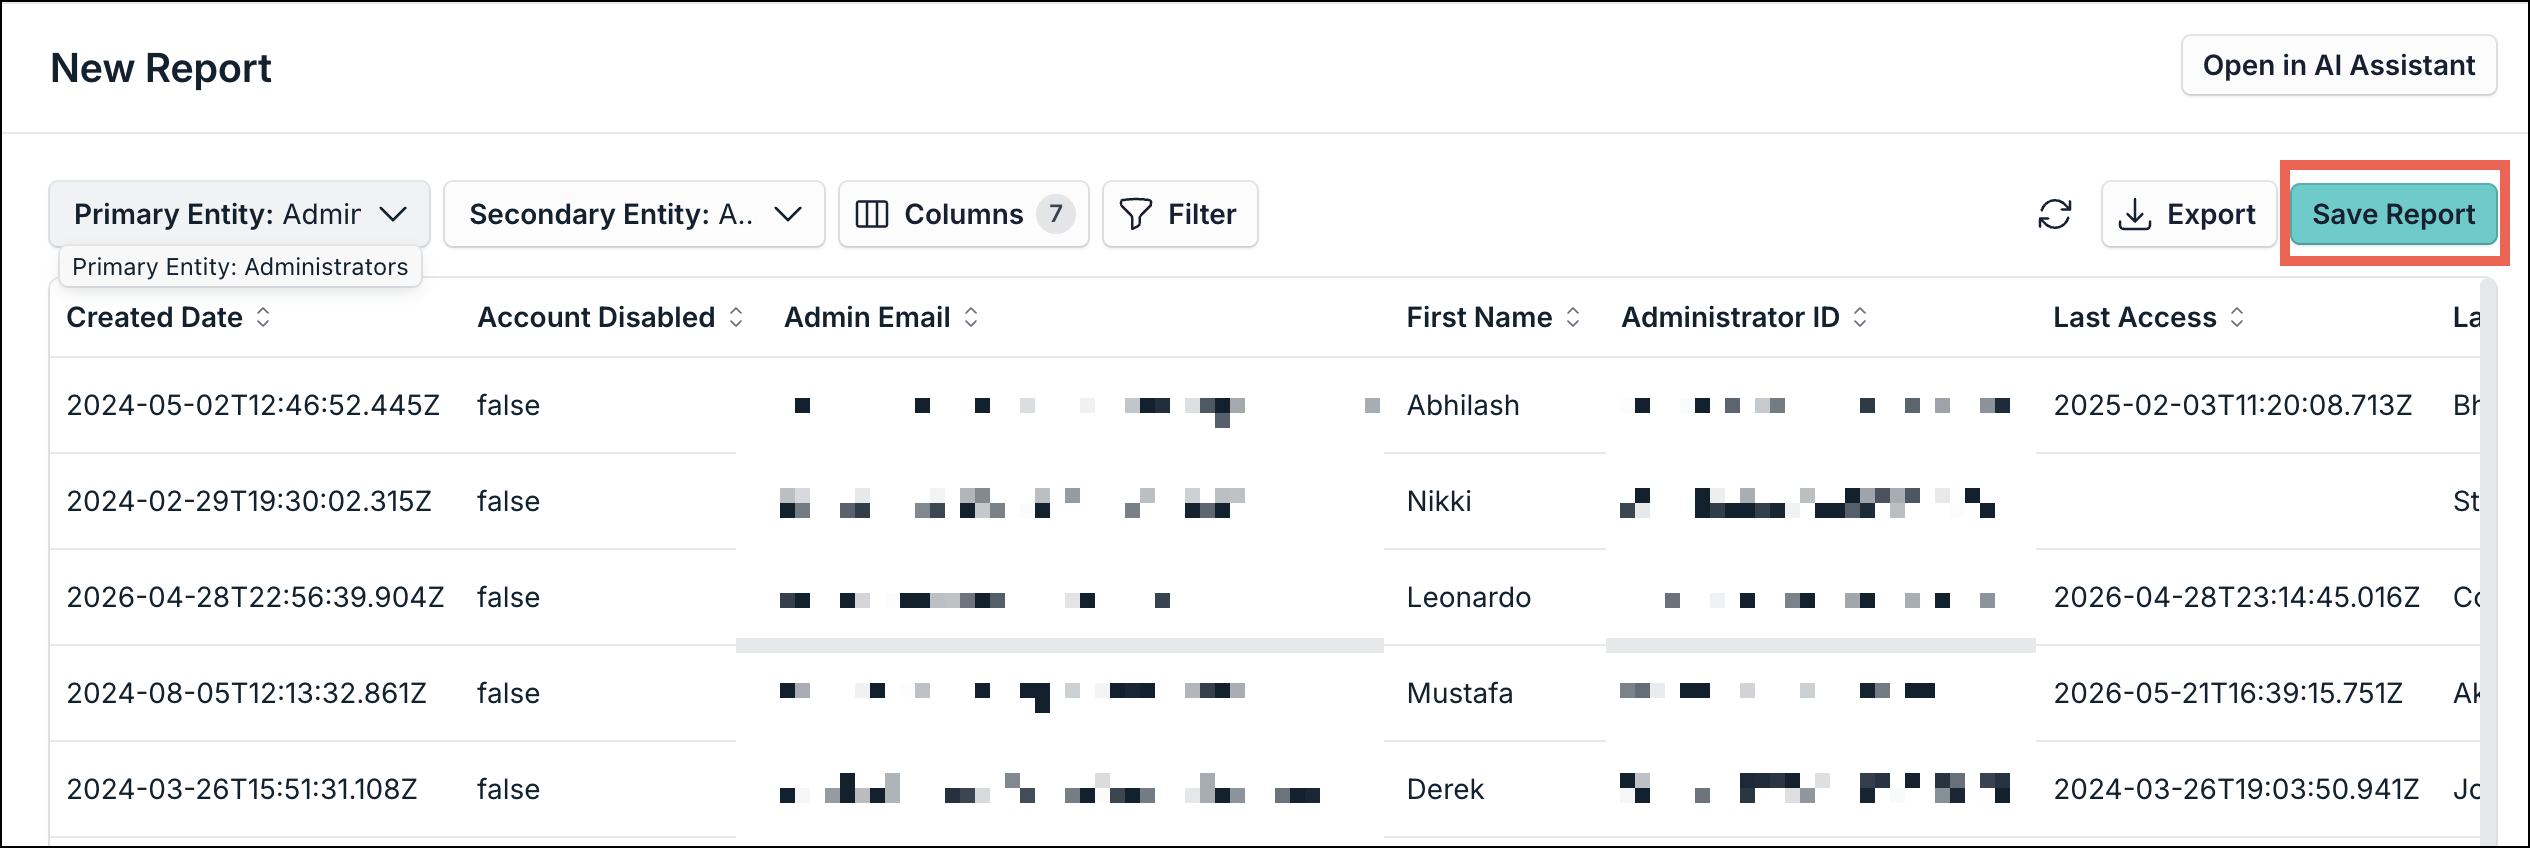
- Click + Report button. Select With Manual Report Builder option. The New Report page opens.
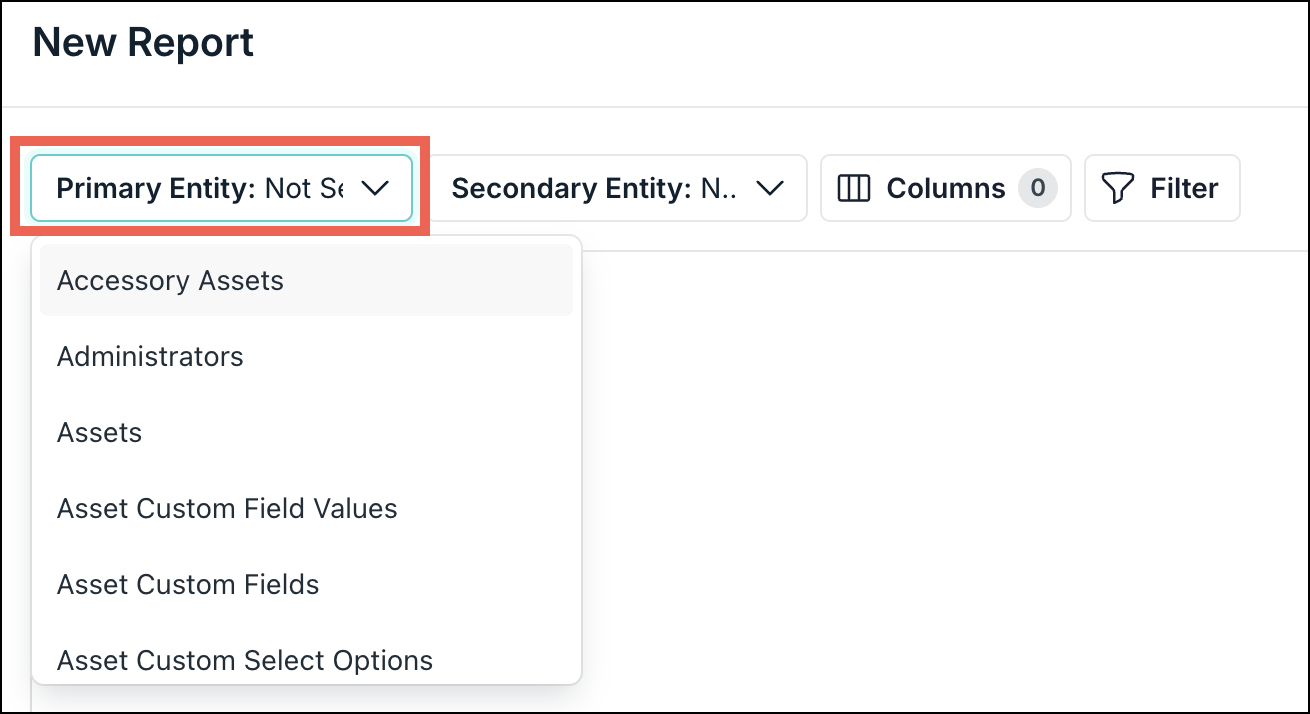
- Click the Primary Entity dropdown to select the main resource around which your report is built. Every custom query requires one primary entity. The available columns and secondary entities will vary based on your primary entity selection. See Custom Reports: Entity References to learn more.
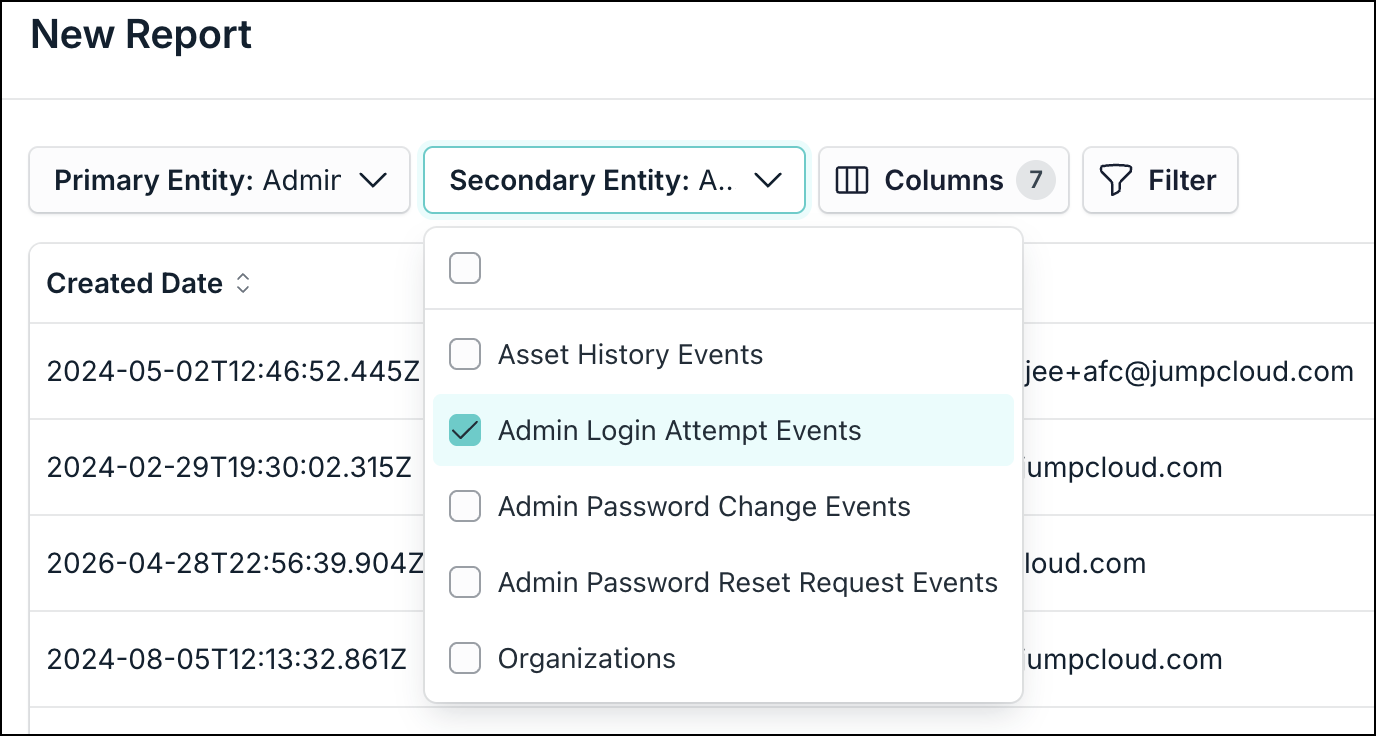
- Select the Secondary Entity.
- In the Columns dropdown, you can select the columns you want to display or hide based on the primary and secondary entity selections.
- Click the filter option to add conditions so that you can filter the report entries as required. You can add multiple conditions by clicking the Add New Rule button. For each condition, enter the following information:
- Field
- Operator
- Value
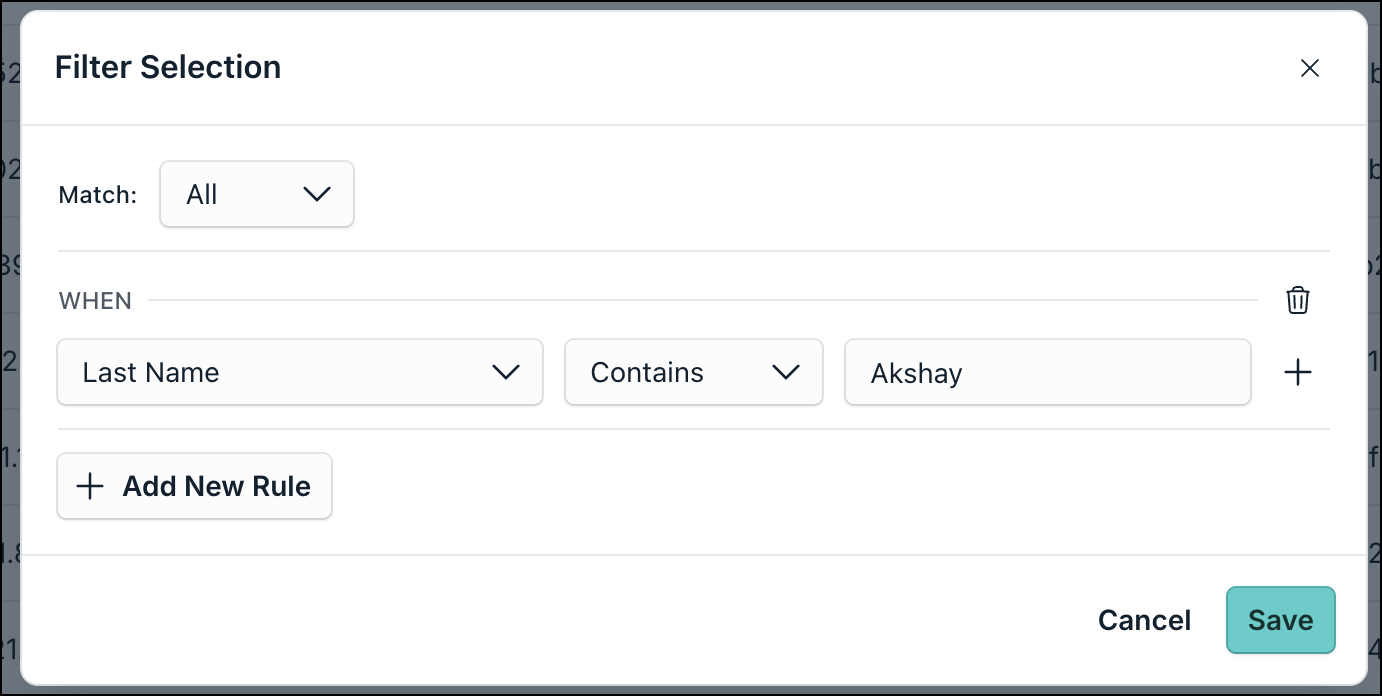
Click Save once done.
While building the query, you can click the Open in AI Assistant option on the right to modify this report using the AI assistant.
- Click Save Report to save this report.
A success message is displayed.
This newly generated report is now visible in the JumpCloud Reports tab.
Building a Query Using the AI Assistant
Use the AI Assistant to build a custom query when you know the outcome you want but prefer not to configure fields and operators manually.
To build a query using the AI Assistant:
- Log in to the JumpCloud Admin portal.
- Go to Insights > Reports.
- Click + Report button. Select Using AI assistant option. The AI Assistant tab opens on the right.
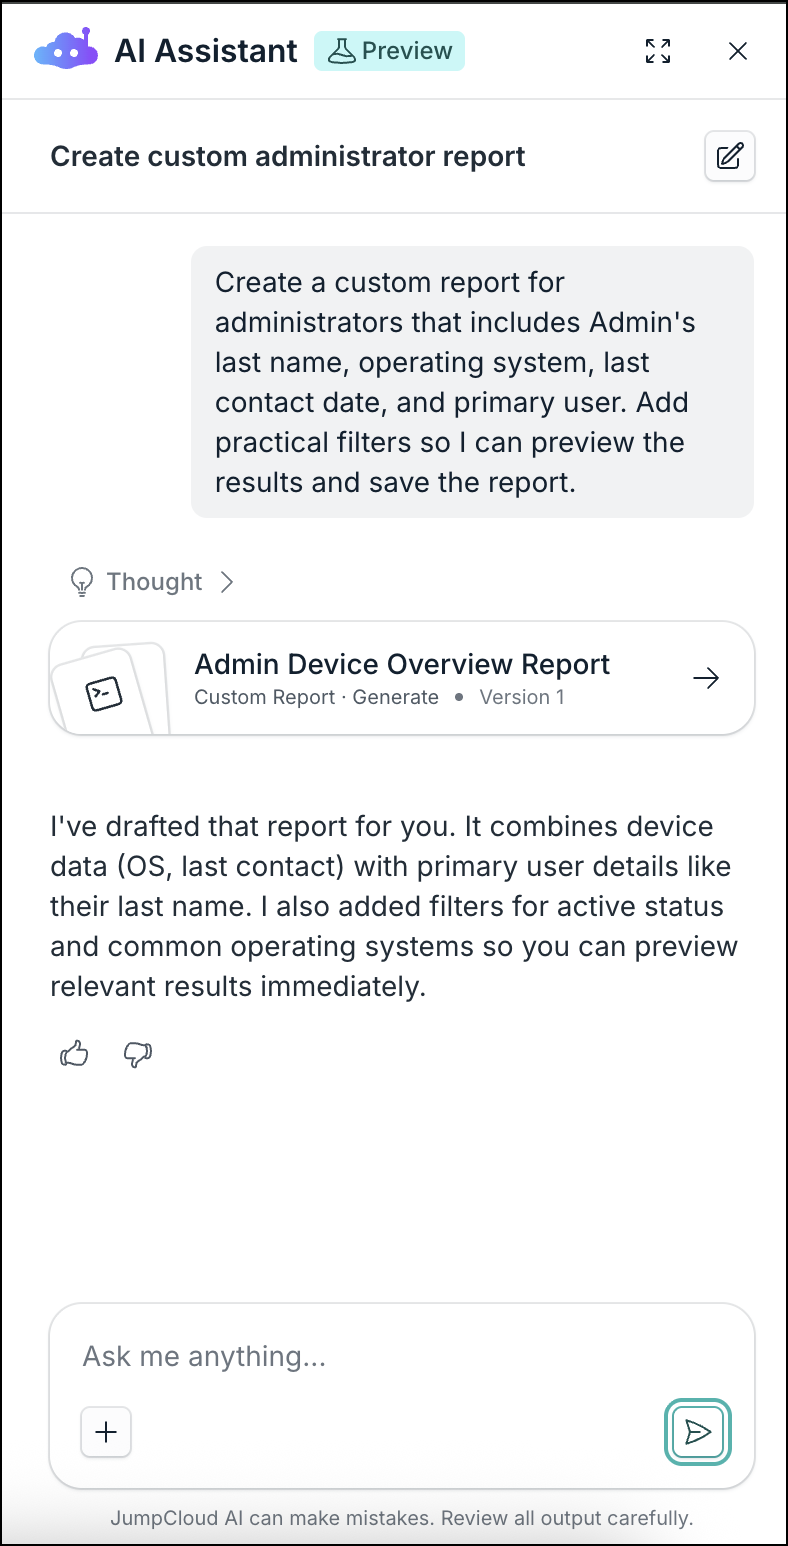
- In the prompt window, enter a natural-language description of the data you need. Include the entities, columns, and conditions that matter for your use case.
Include ‘create a report’ phrase in the prompt for a better response.
- Click Send. The AI assistant generates the first version of the report.
- Click this report to see the details such as basic information and table configuration.
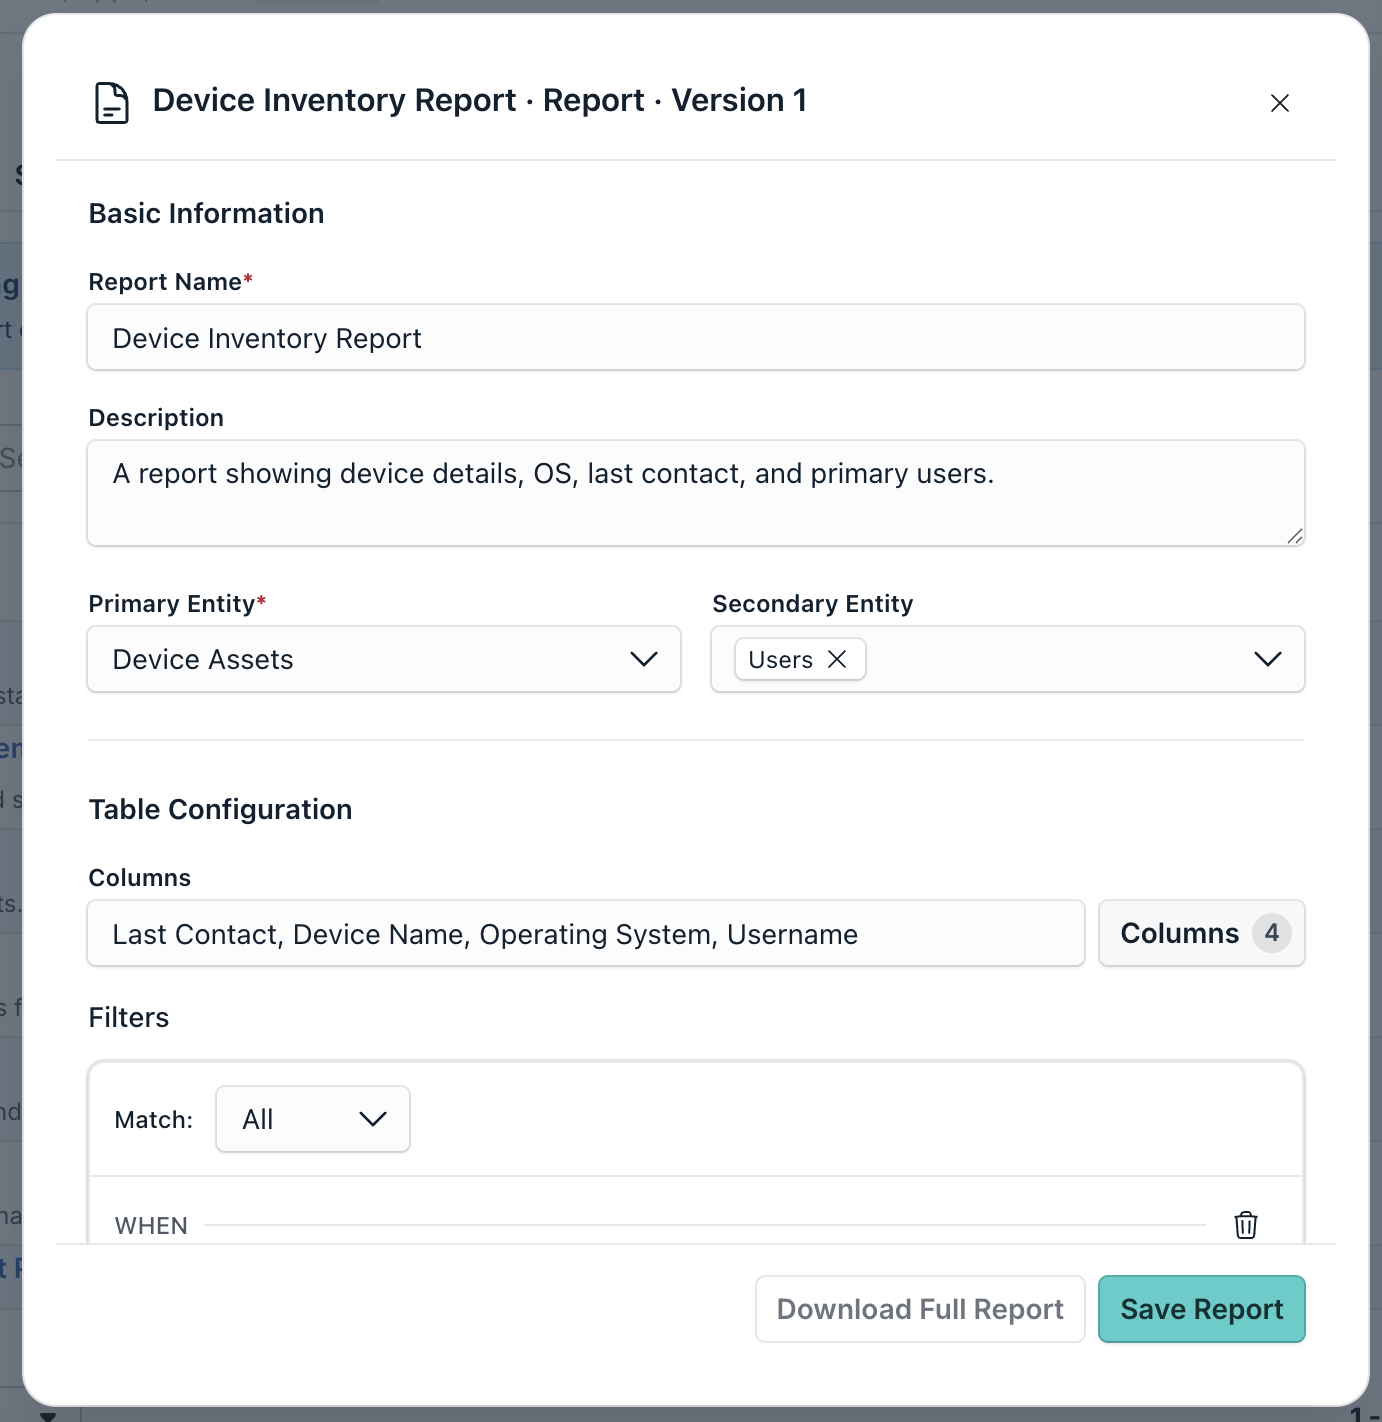
Modify this information and configurations as required. - You can write another prompt to revise this report.
- After you’re done, click the latest generated report and click Save Report.
A success message is displayed.
It is now visible in the JumpCloud Reports tab.
On the custom query builder page, following options are available:
- Refresh: Refresh the page.
- Export: Download the full report in CSV or JSON format.
Was this information helpful?